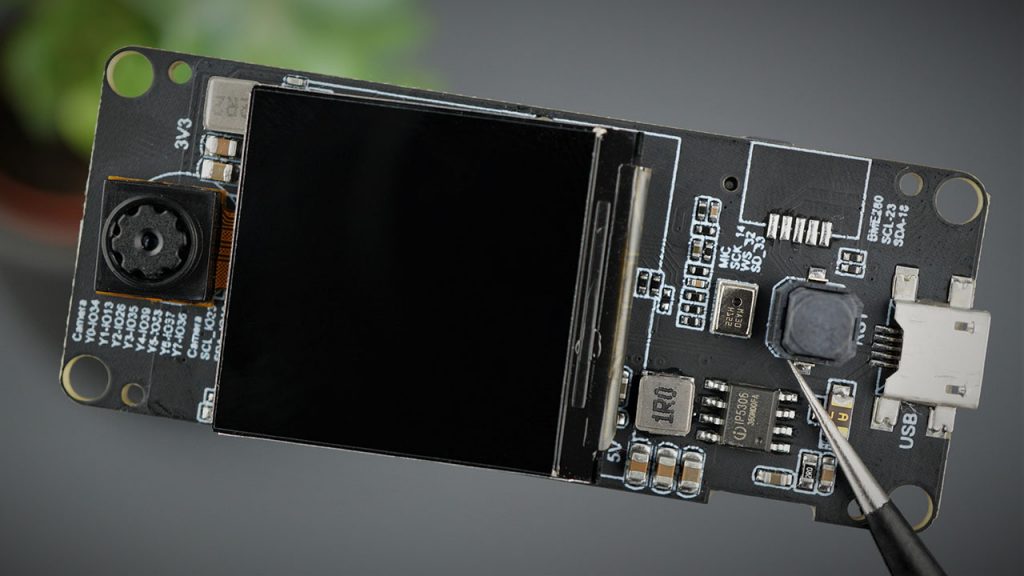
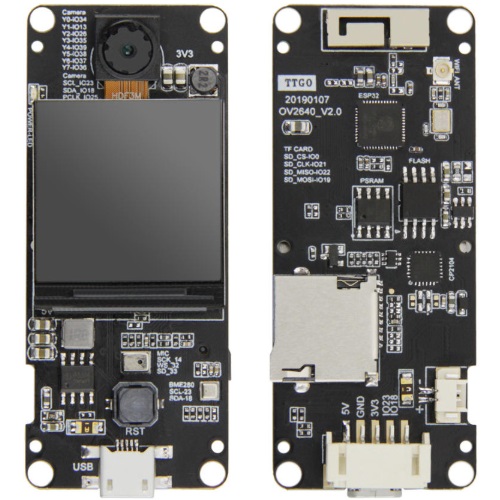
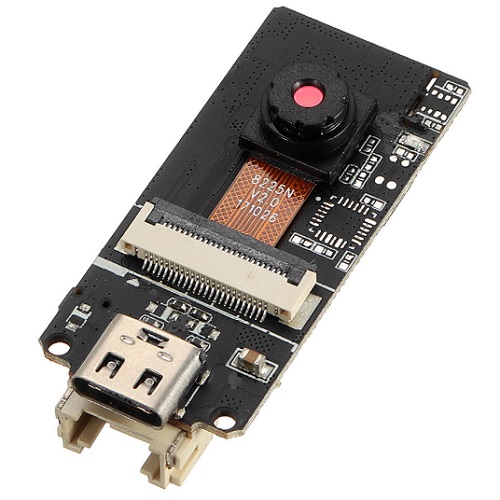
The TTGO T-Camera Plus is an ESP32 Camera Development Board that features an OV2640 camera, microSD card support, 1.3 inch TFT display, built-in programmer, access to I2C GPIOs, 8MB PSRAM and much more.
In this article, we’ll take a quick look at the TTGO T-Camera Plus, the pinout, and provide great resources to help you get started.
Where to Buy?
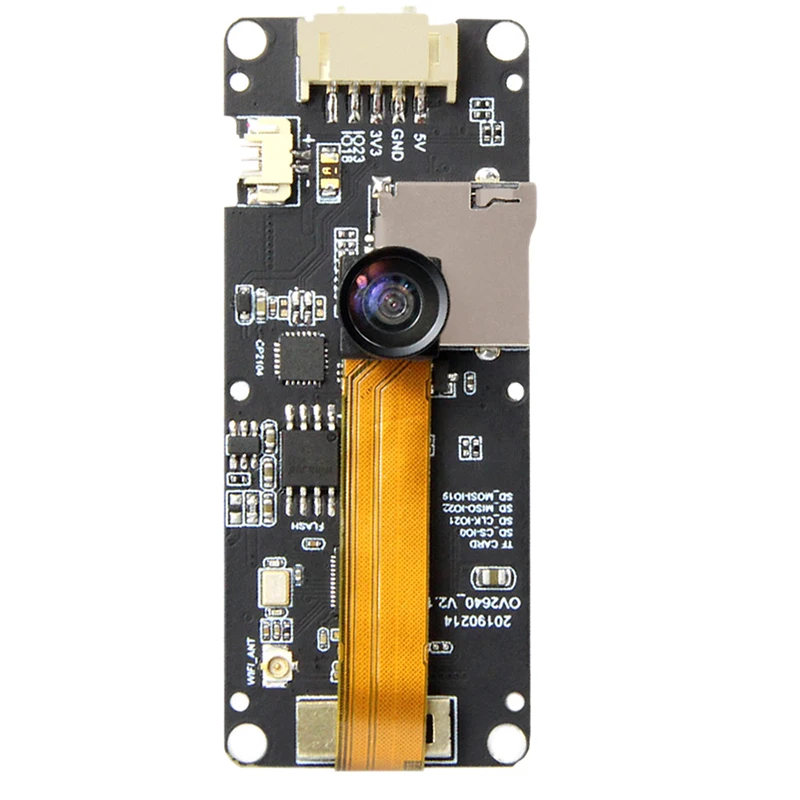
You can get the TTGO T-Camera Plus in different stores. You can choose whether you want the board with a normal lens or a fish-eye lens in many stores. You can also choose if you want a longer flex cable to have a rear camera.
TTGO T-Camera Plus Board Overview and Specs
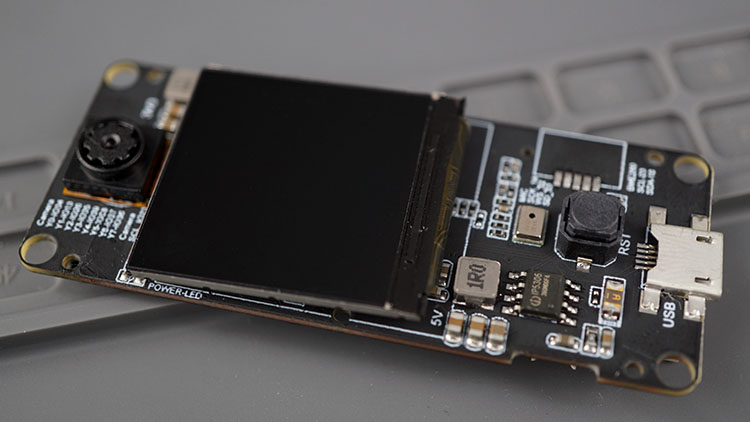
The TTGO T-Camera Plus comes with all the functionalities we would want in such a development board and for a very reasonable price.
Here’s a quick summary of the most relevant hardware specifications of the TTGO T-Camera Plus.
| Chipset | ESPRESSIF-ESP32-DOWDQ6 240MHz Xtensa® dual-core 32-bit LX6 microprocessor |
| Flash | QSPI 4MB flash / 8MB SRAM |
| SRAM | 520kB SRAM + 8MB External SPRAM |
| Button | Reset button |
| Display | IPS Panel ST7789 – 1.3 Inch |
| USB to TTL | CP2104 |
| Camera | OV2640 2 Megapixels |
| Microphone | MSM261S4030H0 |
| SD Card | MicroSD card slot |
| Operating voltage | 2.3V – 3.6V |
| Operating current | ~160mA |
Power specifications
- Power management chip: IPS306
- Power supply: USB 5V 1A
- Charging current: 1A
- Battery: 3.7V lithium battery
Camera (OV2640)
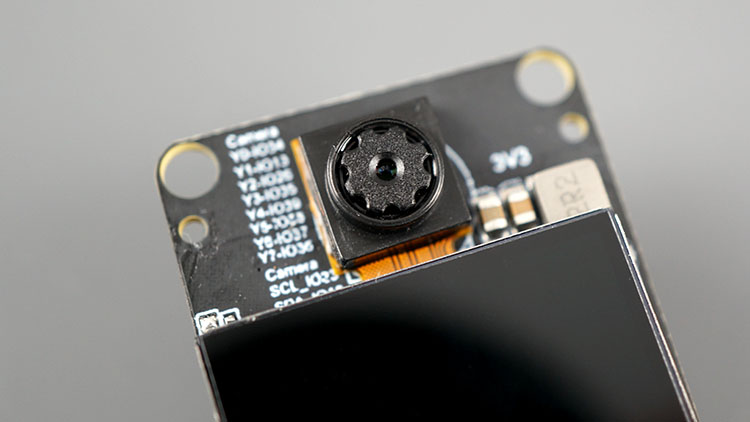
The camera that comes with this board is a 2MP OV2640 camera, which is the same camera that comes with the ESP32-CAM, T-Journal, ESP-EYE, and other similar boards. When you get your T-Camera Plus, most stores allow you to choose between a camera with a normal lens or a fish-eye lens.
You also have the option to choose a longer or shorter flex cable. A longer flex cable allows you to have a rear camera (the display facing one side and the camera facing the other).
MicroSD Card
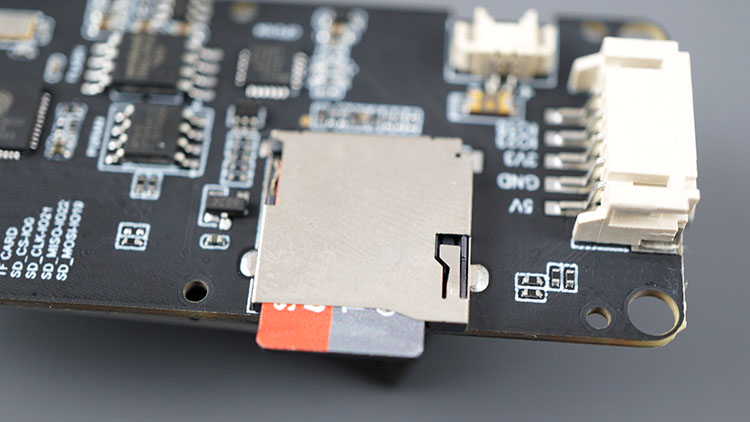
The board comes with a microSD card slot. This can be very useful to store photos, data collected from I2C sensors, or to store files to serve to clients (files to build a web page with the ESP32, for example).
To interface the microSD card with the ESP32 using Arduino IDE, you can use the SD_MMC library. The connections between the microSD and the ESP32 are shown in the next table.
| MicroSD Card | ESP32 |
| MISO | GPIO 22 |
| MOSI | GPIO 19 |
| SCLK | GPIO 21 |
| CS | GPIO 0 |
Microphone
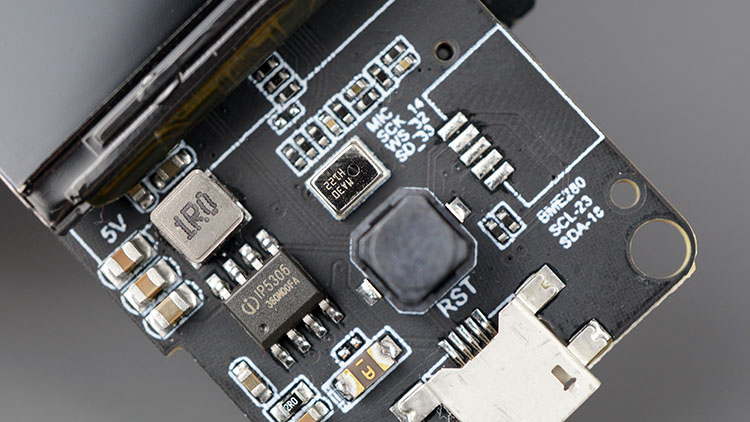
The T-Camera Plus comes with a MSM261S4030H0 microphone (right above the reset button). This is very cool because you can add voice features to your projects, like voice wake-up, or trigger a task when the sound level goes above a certain threshold.
Here’s the microphone wiring to the ESP32:
| Microphone | ESP32 |
| SCLK | GPIO 14 |
| LCLK | GPIO 32 |
| DOUT | GPIO 33 |
To interface the microphone with the ESP32, you can use the esp32-i2s mems library. Unfortunately, at the moment there isn’t much information about microphones and I2S interface with the ESP32.
Recommended Reading: ESP32 Pinout Reference: Which GPIO pins should you use?
1.3 Inch TFT Display
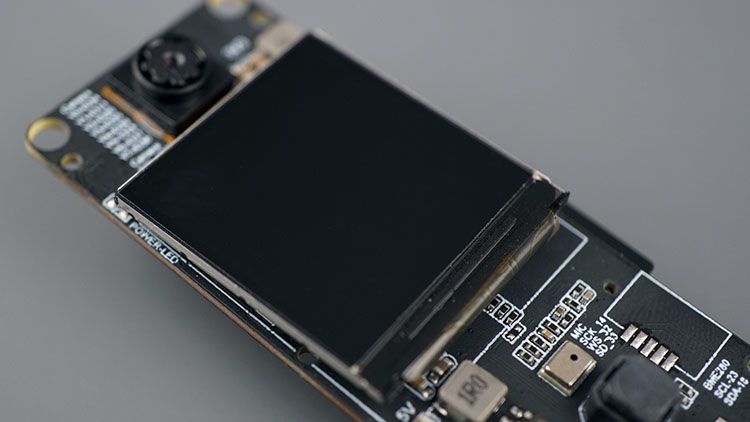
The 1.3 inch IPS ST7789 display provides a full-color visual interface for your board.
You can install the Adafruit ST7735 library to interface the ESP32 with the display. Make sure you assign the right pins in your code.
Connections between the display and the ESP32:
| 1.3 inch IPS ST7789 Display | ESP32 |
| MISO | GPIO 22 |
| MOSI | GPIO 19 |
| SCLK | GPIO 21 |
| CS | GPIO 12 |
| DC | GPIO 15 |
| BK | GPIO 2 |
Power Supply (USB and Battery Connector)
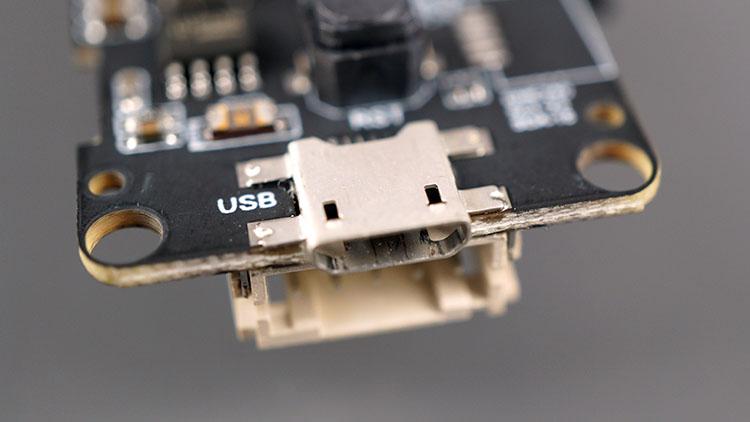
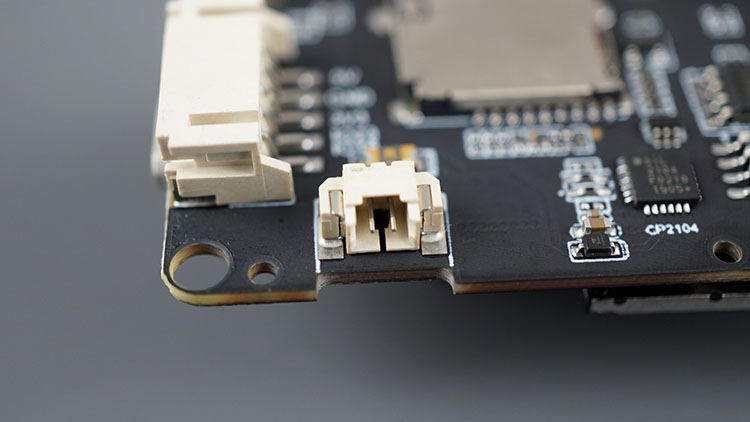
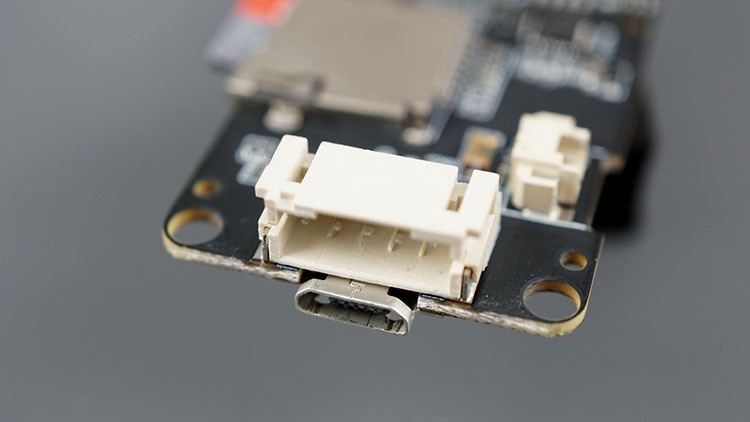
The T-Camera Plus can be powered using an USB cable (5V 1A) or you can use a 3.7V lithium battery.
You can also use the micro USB interface to connect the board to your computer to upload new code.
Antennas
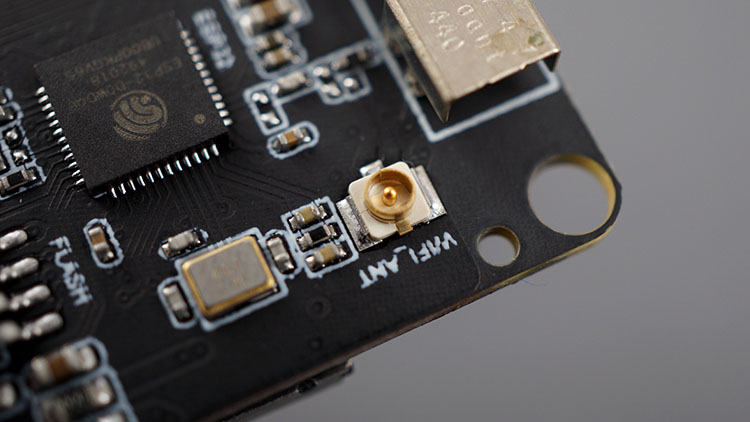
There is an onboard antenna and a connector if you want to use an external antenna to increase the Wi-Fi communication range.
Reset Button
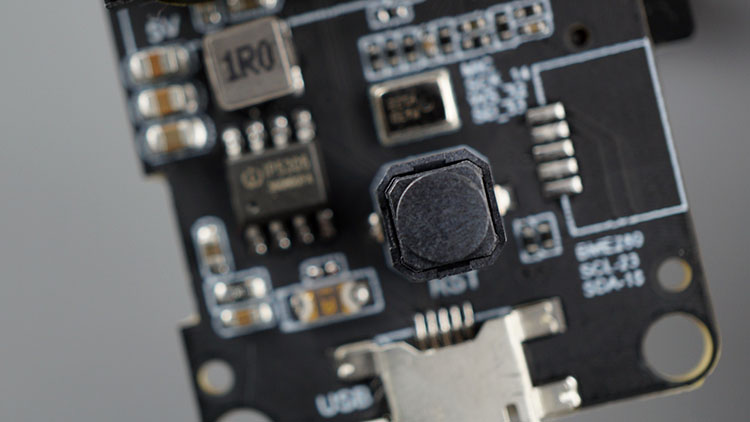
Right below the microphone, there’s a reset button to reset/restart the board. This board doesn’t come with any extra function buttons.
BME280 (not included)
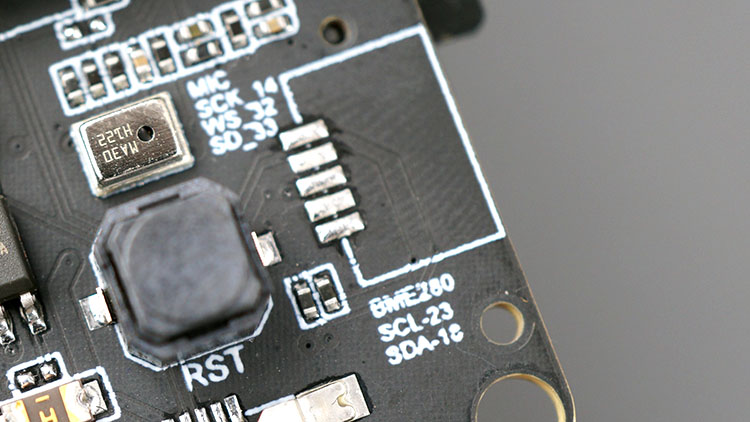
The T-Camera Plus comes with some GPIOs exposed that were used to come with an onboard BME280 sensor. However, the sensor would get really hot on the board, so the manufacturer decided to remove the sensor as shown below (we don’t recommend soldering the BME280 sensor).
Grove Connector
So, you can use those pins to connect other I2C peripherals. These GPIOs are also accessible via grove connector: GPIO 23 (SCL) and GPIO 18 (SDA).
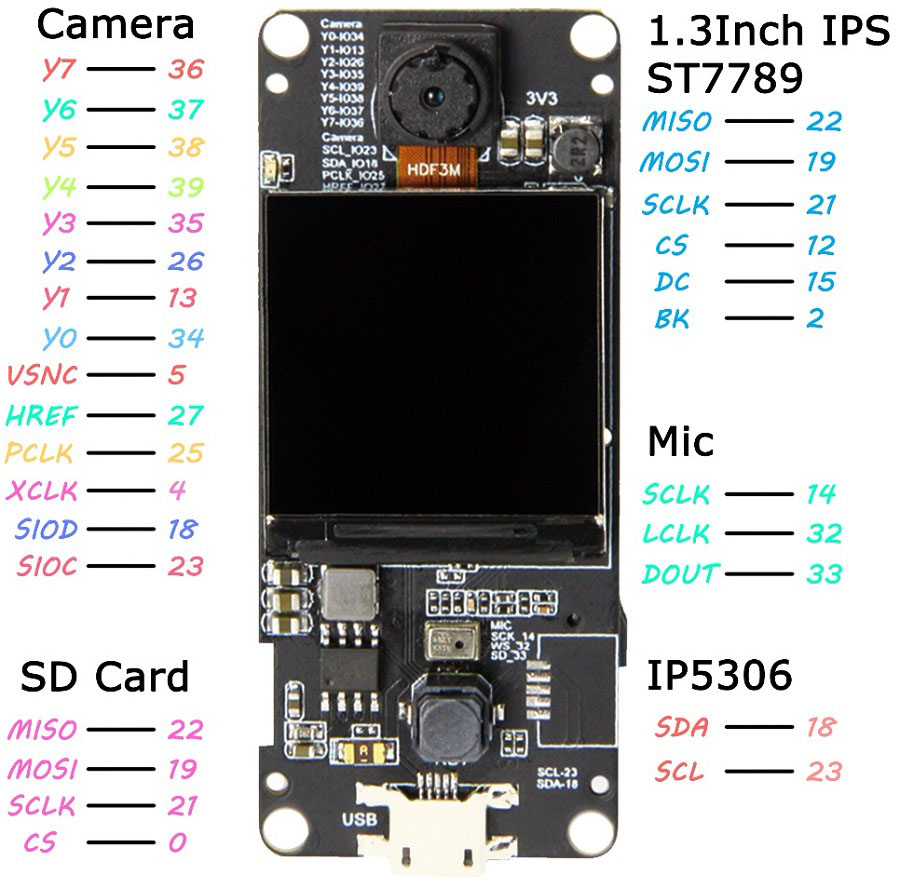
TTGO T-Camera Plus Board Pinout
The following image shows the TTGO-Camera Plus pinout.
It’s important to have the right pin definition in your code for the board you’re using, otherwise you won’t get it working.
Testing the TTGO T-Camera Plus
The TTGO T-Camera Plus comes flashed with an example. Apply power to your board using the microUSB interface. After a few seconds, the display will display a message. You should say the word that appears on the screen to “unlock” the device.
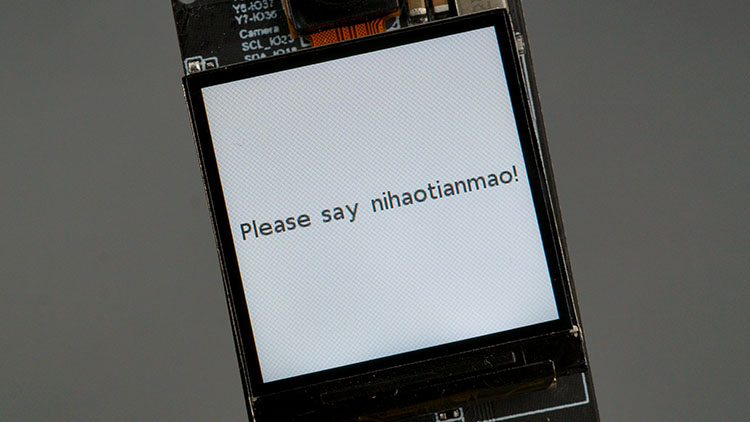
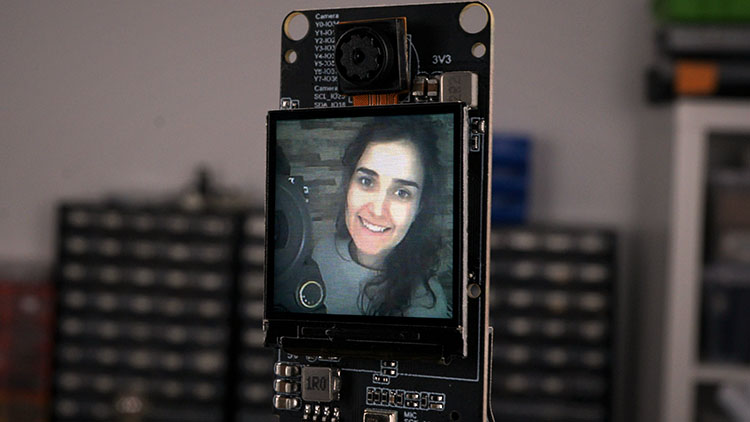
If you pronounce it correctly (it can be a bit difficult, so you may have to try several times), you’ll start seeing what the camera “sees”. This is a great example to check if everything is working with the board hardware.
Comparing the TTGO T-Plus with Other Camera Boards
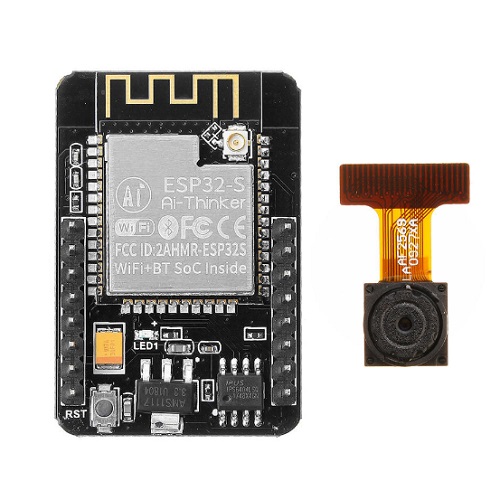
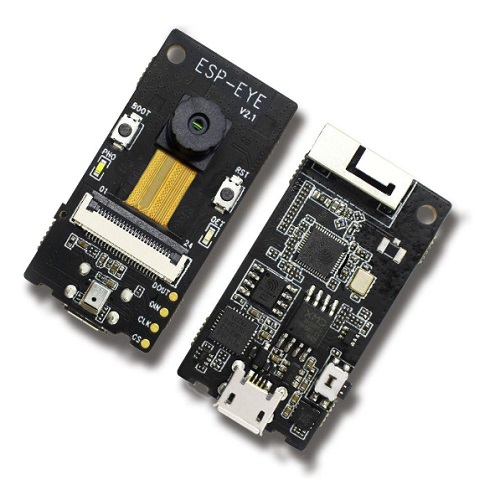
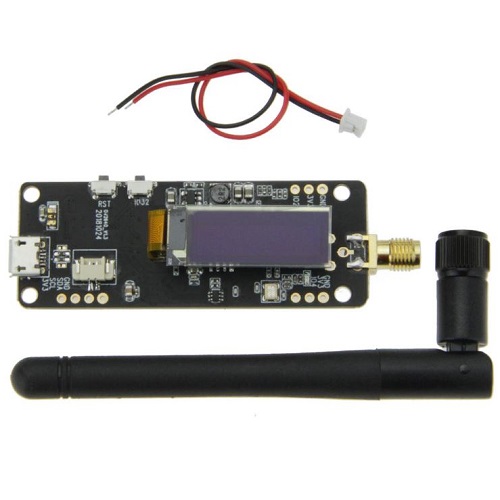
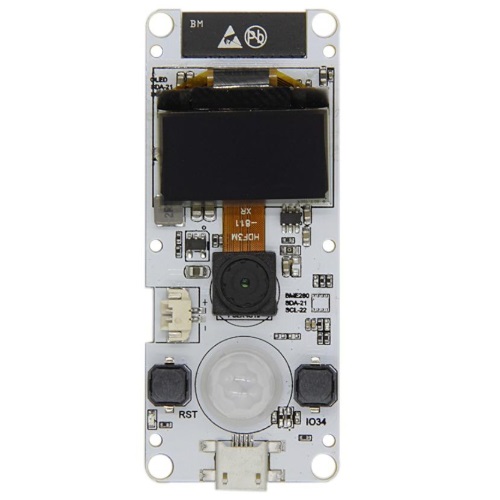
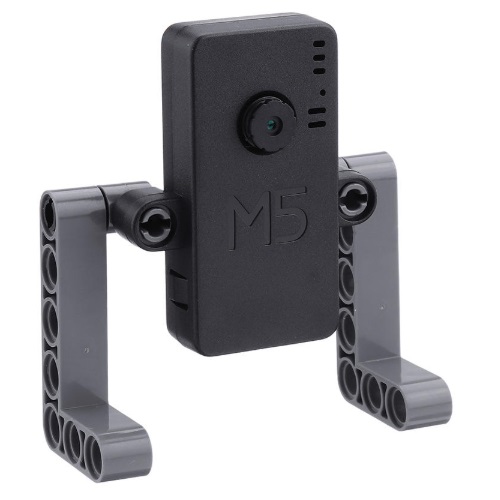
There are many other ESP32 development boards with camera. We have a comparison table with the most popular ESP32 camera boards so that it is easier for you to pick up the most suitable camera for your projects.
Camera Model | TTGO T-Plus | AI-Thinker | ESP-EYE | T-Journal | TTGO T-Camera | M5-Camera A/B | M5 ESP32-Camera |
|---|---|---|---|---|---|---|---|
 |  |  |  |  |  |  |
|
Where to Buy | |||||||
PSRAM | 8MB | 4MB | 8MB | x | 8MB | 4MB | x |
Screen | 1.3inch TFT display (ST7789) | x | x | 0.91inch SSD1306 OLED | 0.96inch SSD1306 OLED | x | x |
MicroSD Card | ✓ | ✓ | x | x | x | x | x |
Microphone | ✓ | x | ✓ | x | x | ✓ (add-on) | ✓ (add-on) |
Function button | x | x | ✓ | ✓ | ✓ | x | ✓ |
Battery Connector | ✓ | x | x | ✓ | ✓ | x | ✓ |
Built-in programmer | ✓ | x | ✓ | ✓ | ✓ | ✓ | ✓ |
GPIOs | 2 | 10 | x | 4 | x | x | x |
Motion sensor | x | x | x | x | ✓ | x | x |
Grove connector | ✓ | x | x | x | ✓ | ✓ | ✓ |
For a more in-depth comparison of the ESP32 camera models, read: ESP32 Camera Dev Boards Review and Comparison (Best ESP32-CAM)
Wrapping Up
In this article, we’ve taken a quick look at the T-Camera Plus. It features an OV2640 camera, a 1.3 inch OLED display, microSD card support, microphone, battery connector, microUSB interface, and 8MB PSRAM. This is a great board given its price and versatility.
We hope you’ve find this review useful.
Other board reviews that you might like:
- ESP32-CAM with OV2640 Camera
- TTGO T-Journal ESP32 Camera Development Board
- ESP-EYE: ESP32-based board for AI (voice wake-up and face recognition)
- TTGO T-Call ESP32 with SIM800L GSM/GPRS
- ESP32 with Built-in SX1276 LoRa and SSD1306 OLED Display
- ESP32 Pinout Reference Guide
- Build ESP32-CAM Projects (eBook)
- Read all our ESP32-CAM Projects, Tutorials and Guides
Thanks for reading.
[Recommended Course] Learn ESP32 with Arduino IDE
Register in our brand new ESP32 course with Arduino IDE. This is our complete guide to program the ESP32 with Arduino IDE, including projects, tips, and tricks! The registrations are open, so sign up now.


 [eBook] Home Automation using ESP8266 »
 [Course] Build a Home Automation System »
 [Course] Arduino Step-by-Step Projects »
Leave a Reply