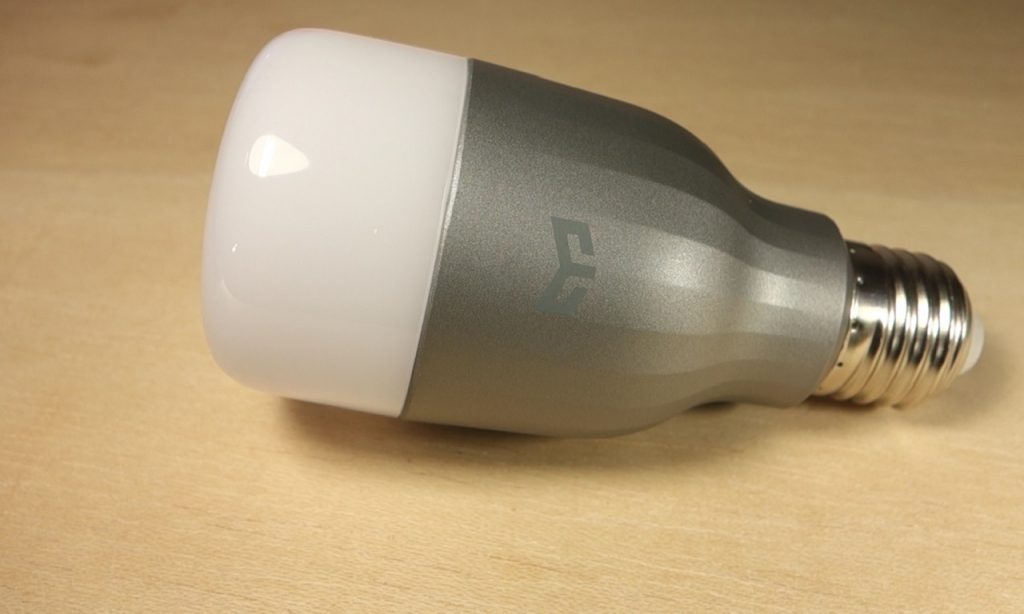
In today’s post we’re going to show you our Xiaomi Yeelight RGBW Smart Bulb Review. First, we’ll take a look at the Yeelight bulb features and then, we’ll test the Yeelight app.
Smart LED bulbs have been picking up in popularity for the past couple of years, because they are becoming a more affordable and easy to integrate with other systems.
If you want to know how to connect the Yeelight with Node-RED, you can read Node-RED with Xiaomi Yeelight RGBW Smart Bulb.
Where to Buy?
This product was kindly sent to review from Gearbest and you can click on the product card below to visit the product page
Xiaomi Yeelight AC220V RGBW E27 Smart LED Bulb
If this bulb is not compatible with your country, you can get the E26 AC 110V model at Amazon:
Watch the Video Review
You can click on the video below to watch the Xiaomi Yeelight RGBW Smart Bulb Review or you can scroll down and continue reading.
Unboxing
Inside the package, you’ll find the bulb and a quick manual on how to get started. The manual is in Chinese, so you won’t need it.
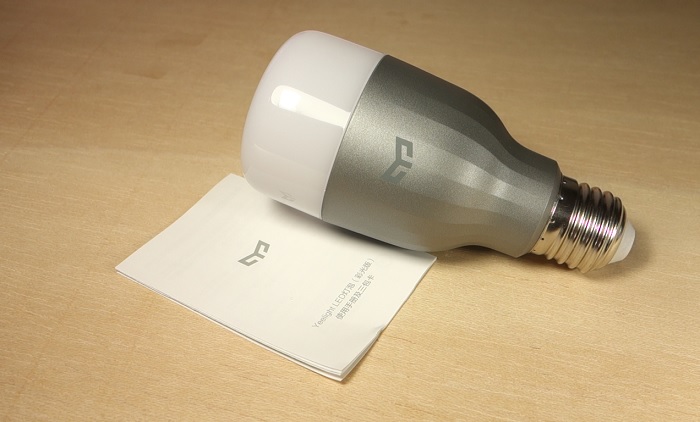
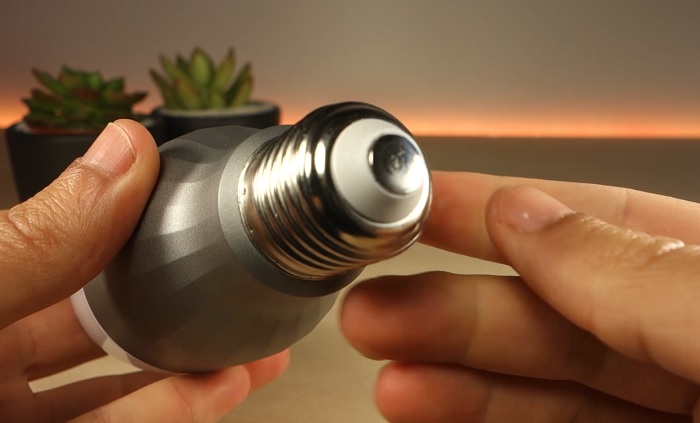
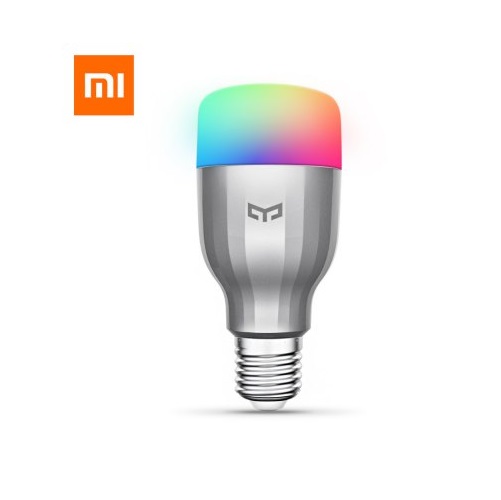
The bulb has a sleek design with a silver finish that makes the lamp modern looking. This bulb comes with the E27 screw, but you can also get one with E26 here.
Specifications
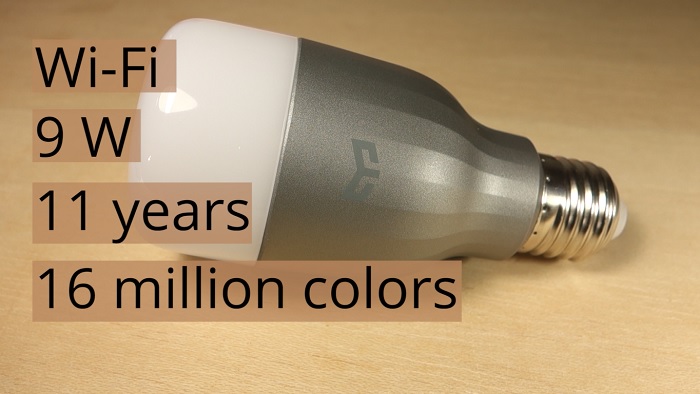
The Yeelight has Wi-Fi built-in and it uses 9 watts according to the product specification manual, so they are fairly energy efficient. They claim the bulb has a 11 years lifetime (It should last 25000 hours).
These bulbs are RGBW, so you have up to 16 million different color choices, including pure white. The light temperature is also adjustable (1700 to 6500 Kelvin).
What makes this bulb one of the best alternatives in the market right now is the price point. These bulbs cost less than $20 at GearBest.
You can also integrate the Yeelight with popular platforms like Alexa, IFTTT, Google Home, Node-RED, Home Assistant which makes it one of the best choices for your IoT projects.
Testing the Yeelight App
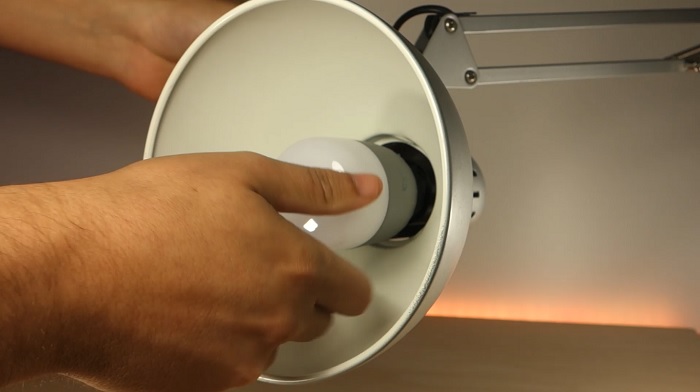
Let’s connect the bulb to a lamp holder and see how it works.
Installing the Yeelight App
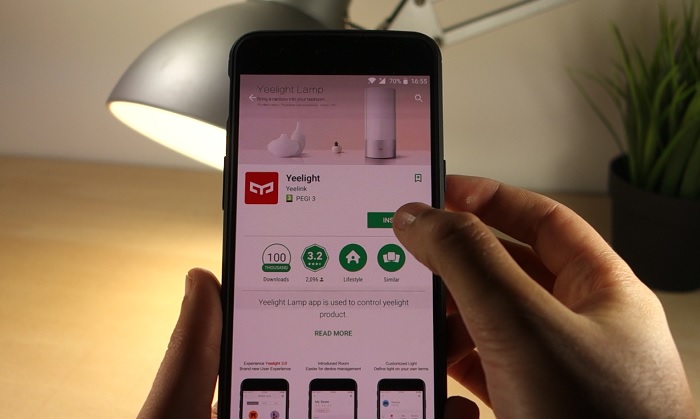
Since it’s a Wi-Fi connected device, you’ll have to download the Yeelight app from the Android Play Store or the iOS App store.
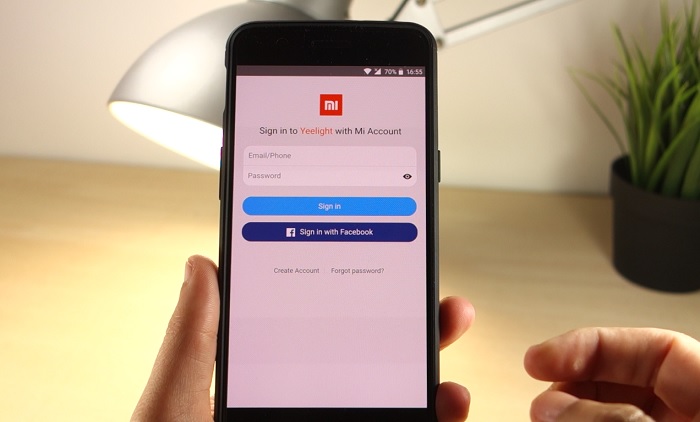
Once the app is installed, apply power to your lamp. The next thing you need to do, is to open the app and create a Mi account.
After creating your account, tap the Add Device button, select the LED Bulb color and then, you must turn your lamp on and off 5 times in a row until it goes into reset mode. Click Next and select your device.
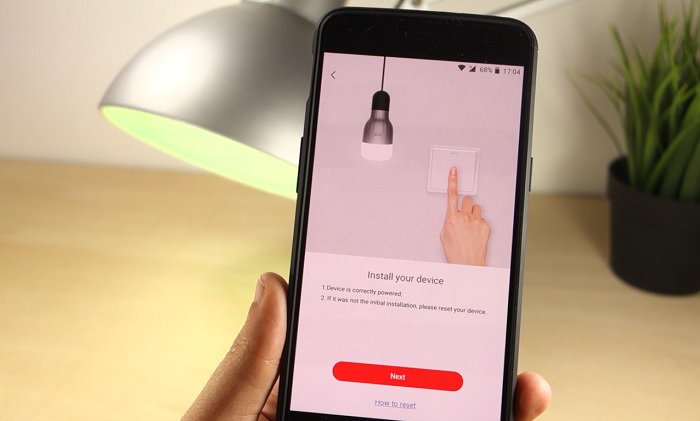
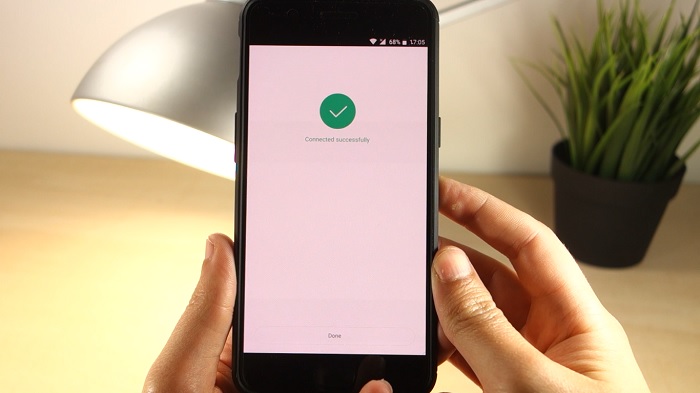
Finally, choose your network and type the password. Wait a few seconds while your lamp connects to your router. You should see a success message like this.
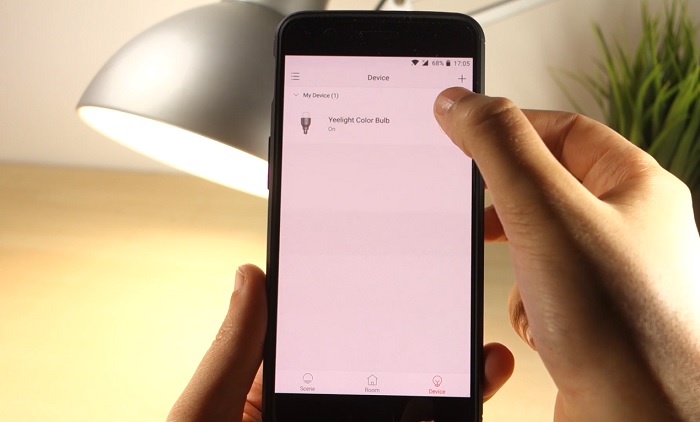
You’re all set to go. You can instantly turn the lamp on and off from the main screen.
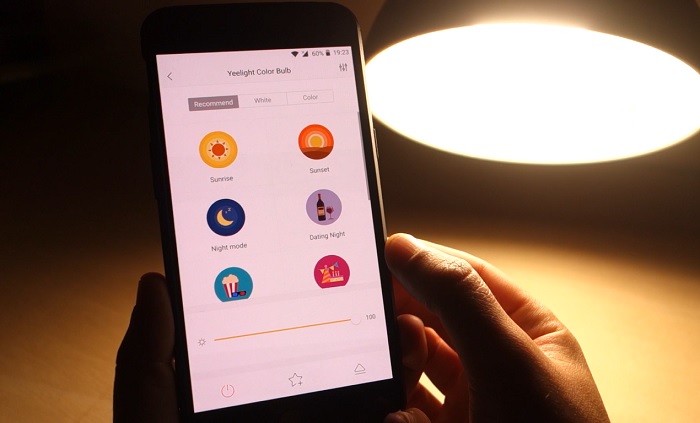
Recommended Modes
Let’s a take a quick look at what you can do with the app. If you select the Yeelight color bulb, a new page loads with Recommended modes. It has sunrise, sunset, movie and so on. You also have a slider at the bottom to control the brightness.
Light’s Temperature
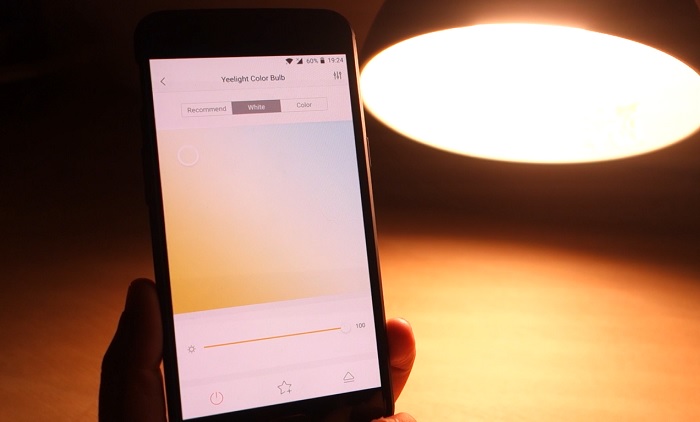
There is also a tab called White where you can change the light’s temperature. Simply drag the cursor to find your preferred color temperature, you can always adjust the brightness with the slider.
Color Picker
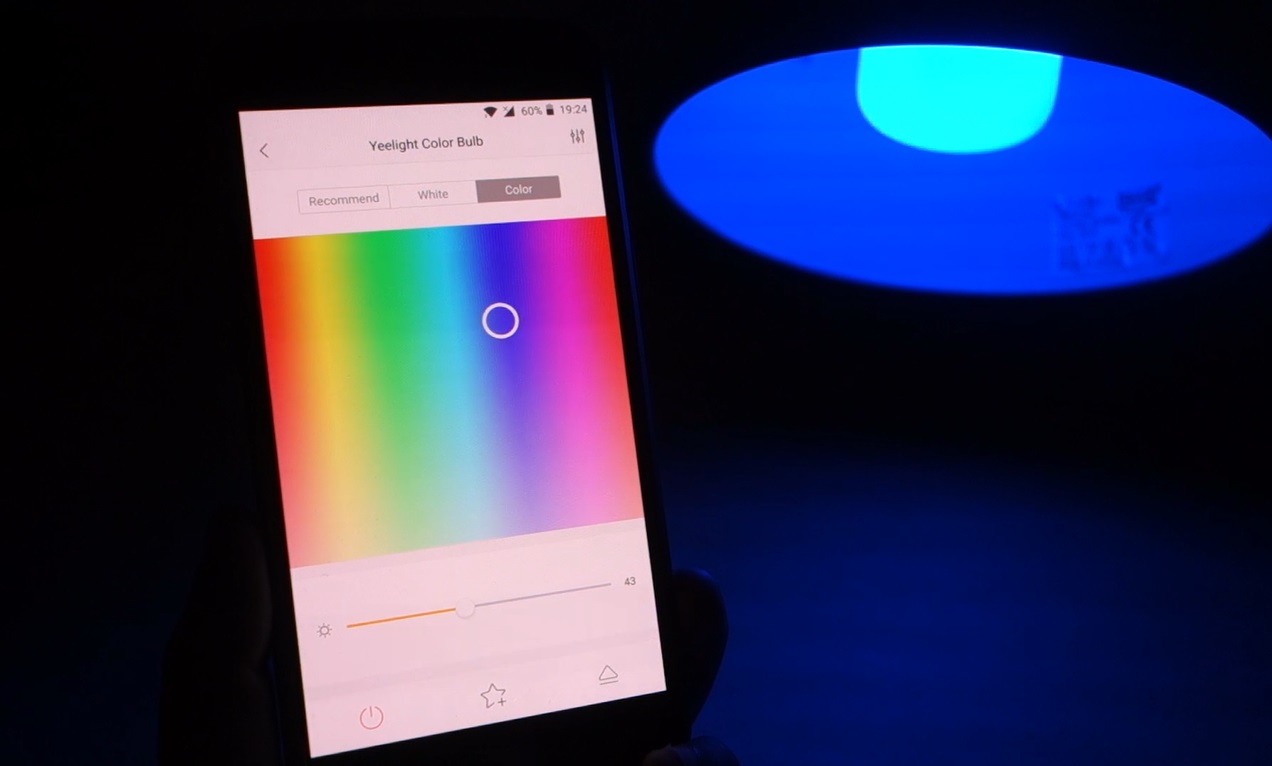
Select the Color tab at the top right corner. With the color picker you can quickly apply a new color to the bulb. You always have the slider to adjust the brightness.
Preset Colors
That’s not all, if you open the menu on the bottom right corner, you’ll see a bunch of options that you can choose from. You have 5 pre-set colors that you can use.
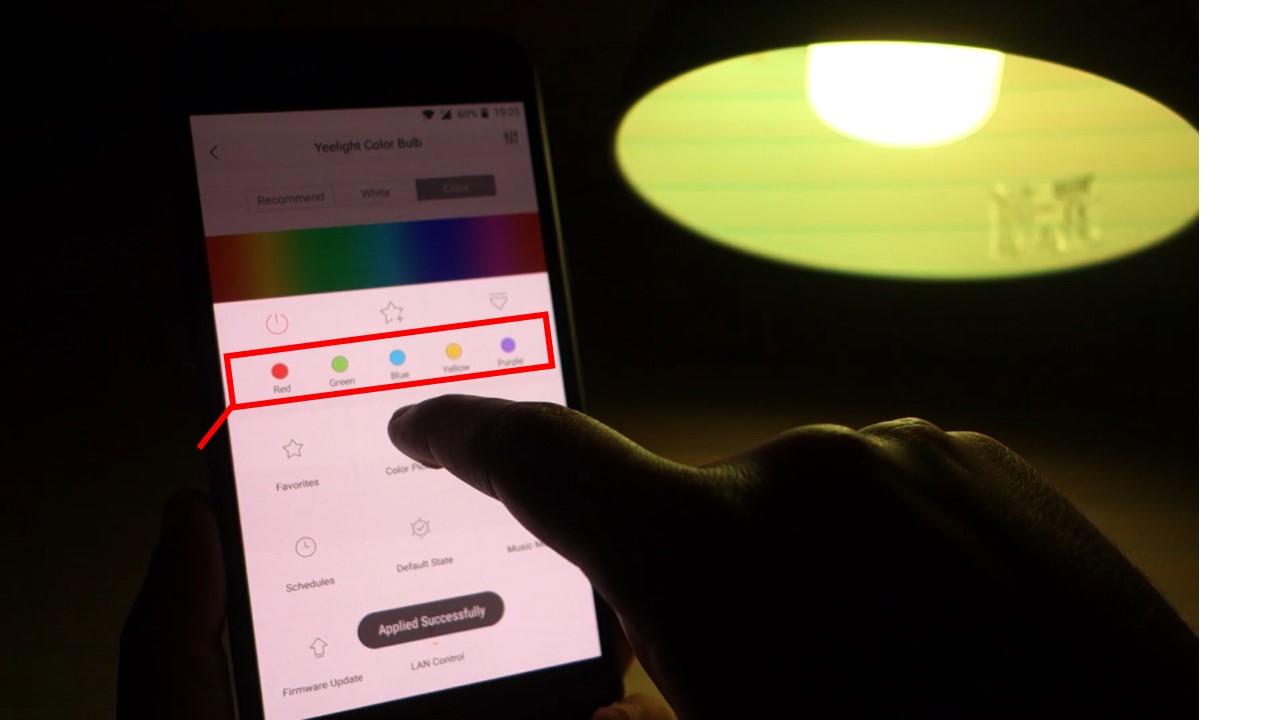
Photo Color Picker
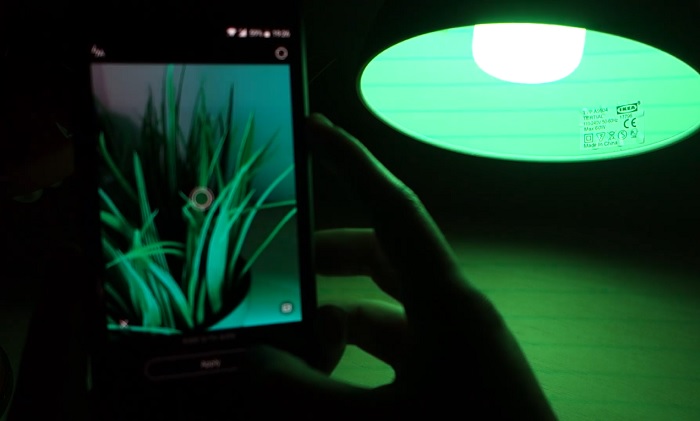
You also have the photo color picker which starts your camera and shows you a cursor in the middle of the screen that applies a color from the environment to your lamp. I think this is a really interesting feature and it works quite well. However, this effect is a bit difficult to show on camera.
Timers and Schedules
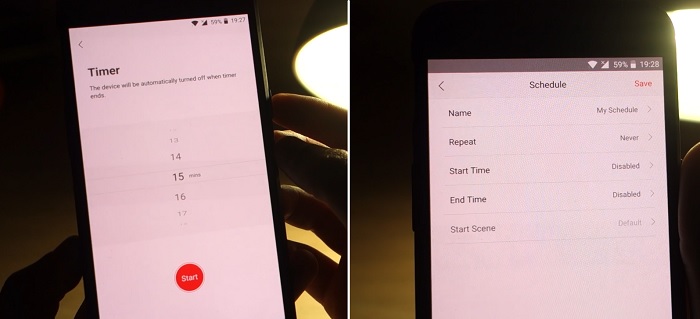
The app also comes with an adjustable timer that turns off your lamp when the timer ends. You can set schedules, so the Yeelight turns on at a specific time and repeats a certain task as you wish.
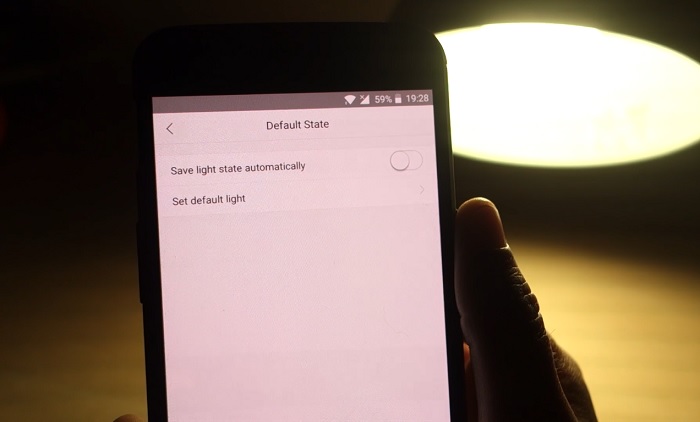
Default State
In this menu, you can set your lamp’s default state when it turns on.
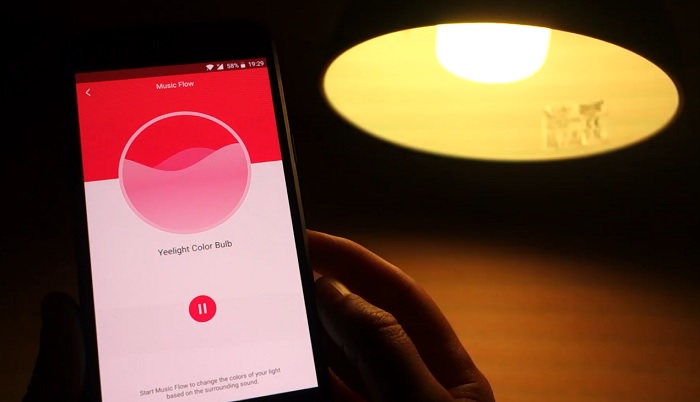
Music Mode
It even has a music mode, where the lamp reacts to the room noise. Watch the video review to see how this mode works. In my opinion this is a really fun feature.
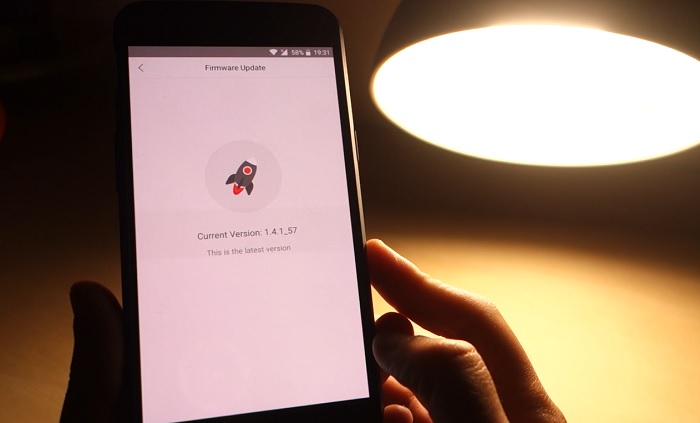
Update Firmware
You can also check if your firmware is up to date by clicking the Firmware Update button or update the firmware if necessary.
LAN Control
Finally, if you want to use this bulb in your DIY projects, you can enable the LAN control here.
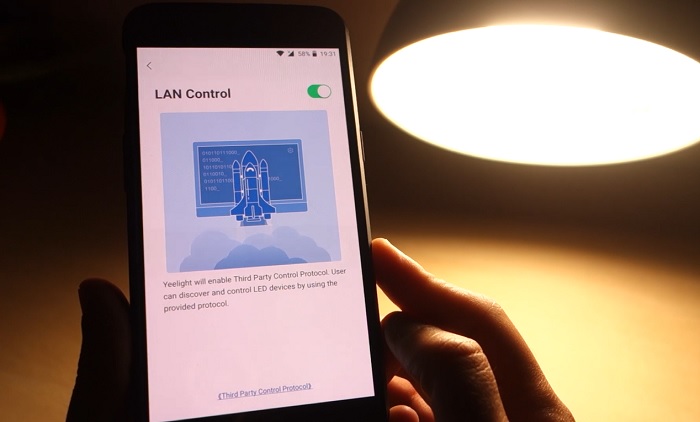
The app has a few more features like scenes and rooms to automate all your Xiaomi products.
Wrapping Up
In our opinion, the Xiaomi Yeelight RGBW Smart LED Bulb is just great! It has a modern looking and all the materials feel premium quality. The Yeelight application is intuitive to use, works well, and the lamp responds really fast. Besides that, the app also comes with nice and usefull features like the timers, schedules, photo color picker and music mode.
What makes us really like this lamp is the fact that it can be controlled by third party services like Node-RED or Home Assistant, which makes this lamp a great choice for your DIY IoT projects. You can see how to integrate the Xiaomi Yeelight RGBW Lamp with Node-RED.
Additionally, this lamp can be considered low-cost when compared with its competitors. Grab the Xiaomi Yeelight with a special discount.
We have other articles about smart lighting you may also like:
- Xiaomi Mijia Bedside Lamp Review (Wi-Fi and Bluetooth)
- Best Smart Ceiling Light: Yeelight YLXD01YL Review
- Utorch PZE – 911 Smart Ceiling Light Review
Looking for more great deals on electronics and tools? Make sure you subscribe here to catch upcoming deals and score some extra savings on your favorite gear!
[Recommended Course] Learn ESP32 with Arduino IDE
Register in our brand new ESP32 course with Arduino IDE. This is our complete guide to program the ESP32 with Arduino IDE, including projects, tips, and tricks! The registrations are open, so sign up now.
Other RNT Courses
 [eBook] Home Automation using ESP8266 »
Build IoT projects and home automation gadgets with the ESP8266 Wi-Fi module.
 [Course] Build a Home Automation System »
Build a home automation system using open-source hardware and software.
 [Course] Arduino Step-by-Step Projects »
Build 25 cool Arduino projects with our course even with no prior experience!


Leave a Reply