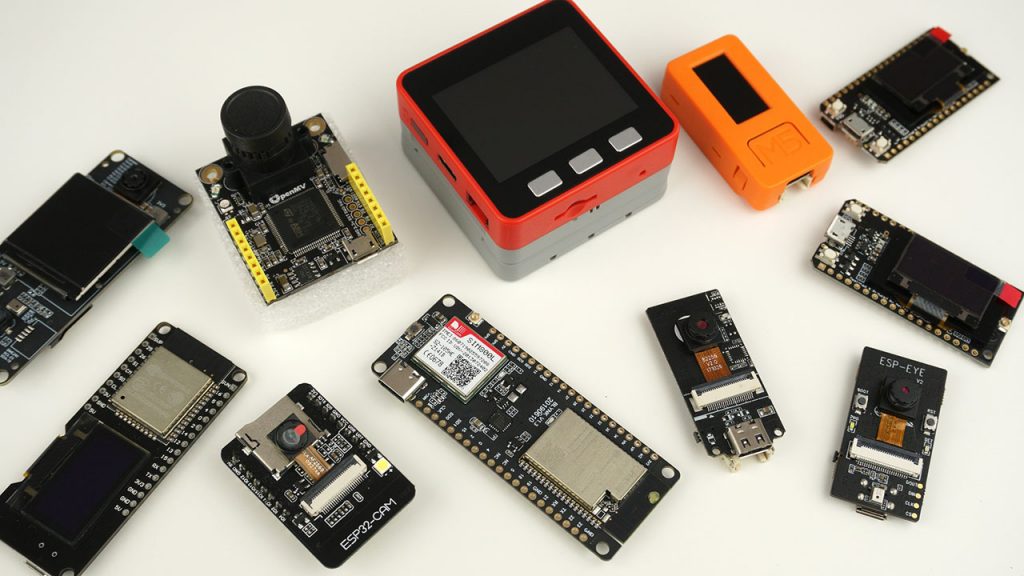
In this article I’ll share with you 10 IoT development boards that I recently received in my mailbox. These are mainly ESP32 based dev boards that are perfect for DIY projects.
Here’s a list with the boards I received:
- Lolin32 OLED
- ESP32-CAM
- ESP-EYE
- TTGO Camera Plus
- T-Call ESP32 with SIM800L
- M5Stack Camera
- TTGO LoRa32
- OpenMV M7 Camera Board
- M5StickC
- M5Stack FIRE Development Kit
Watch the Video Unboxing
This post is available in video (watch below) or in written version (continue reading this post).
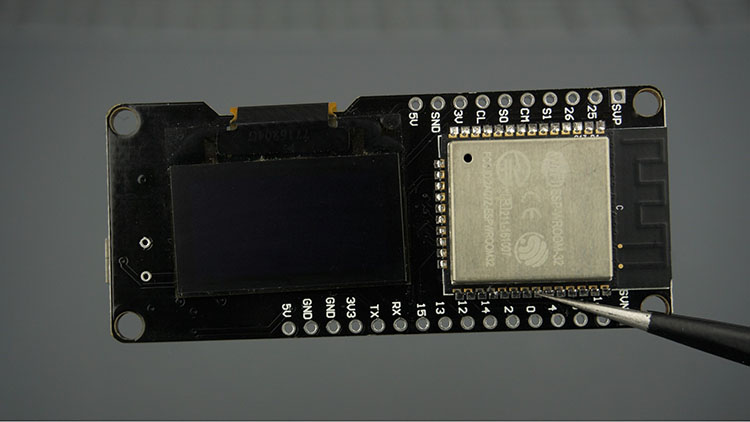
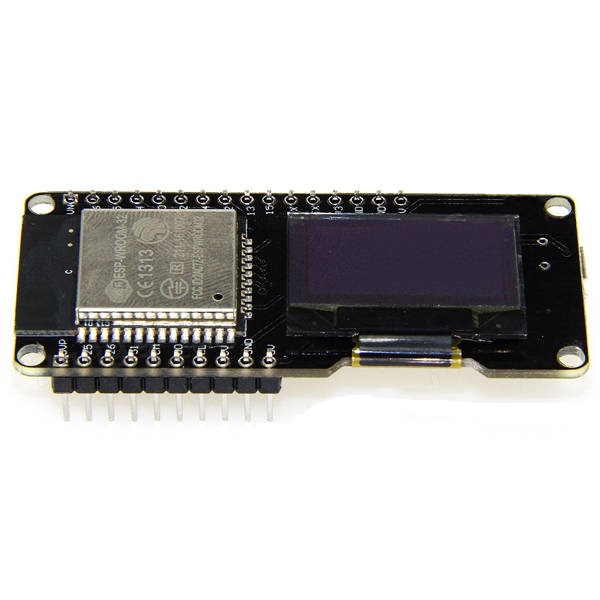
1. Lolin32 OLED
This is an ESP32 development board with a built-in 128×64 pixels SSD1306 OLED display. The display communicates with the ESP32 via I2C communication protocol (GPIO5=SDA; GPIO4=SCL).
The Lolin32 OLED board doesn’t have as much accessible GPIOs as a regular ESP32. However, it can be really handy in projects that require an OLED display, without the need for extra circuitry.
We have a guide on how to use this board with Arduino IDE and MicroPython:
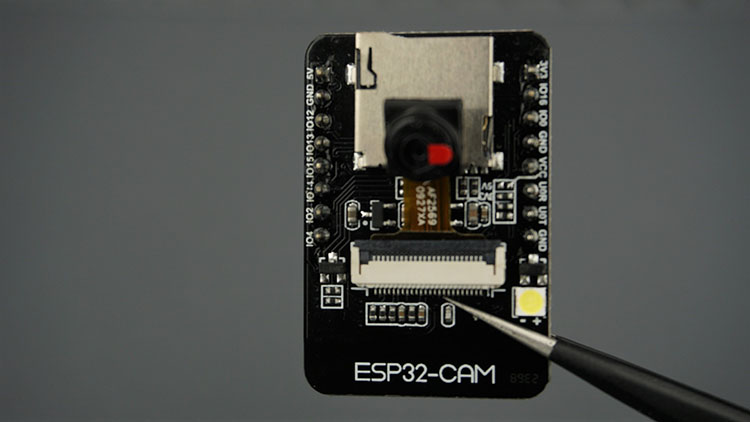
2. ESP32-CAM
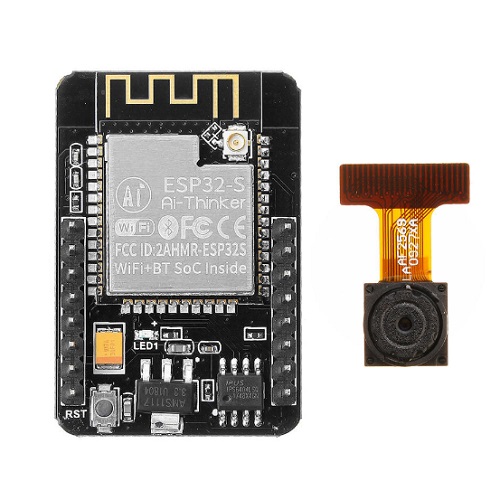
The ESP32-CAM board is a $7 device that combines an ESP32-S chip and an OV2640 camera. It allows you to set up a video streaming web server, build a surveillance camera to integrate with your home automation system, do face recognition and detection, and much more.
Besides the OV2640 camera and several GPIOs to connect peripherals, the ESP32-CAM also features a microSD card slot that can be useful to store images taken with the camera or to store files to serve to clients.
You can read our ESP32-CAM review here.
We have several projects using this camera that you might be interested:
- ESP32-CAM Video Streaming and Face Recognition with Arduino IDE
- ESP32-CAM Video Streaming Web Server (works with Home Assistant)
- ESP32-CAM Take Photo and Save to MicroSD Card
3. ESP-EYE
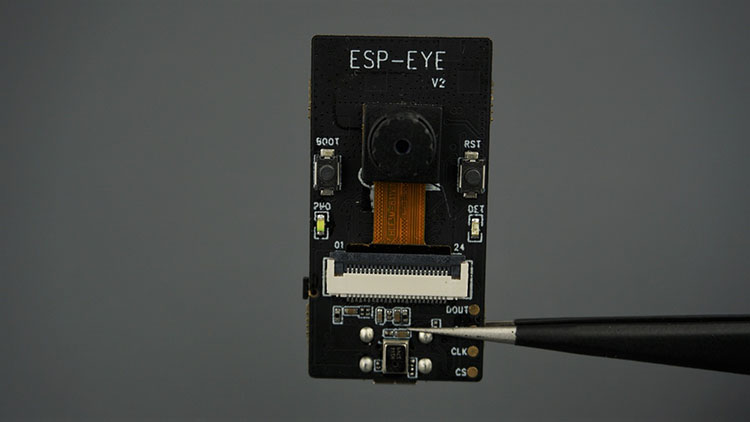
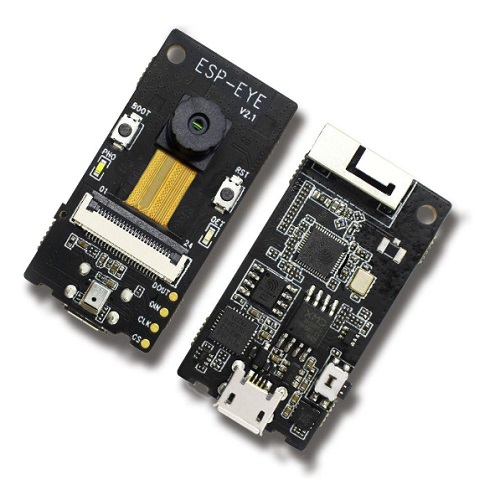
The ESP-EYE is a new ESP32-based board dedicated to artificial intelligence (AI) with voice wake-up and face recognition. Just with 21mm by 41mm, it is equipped with a 2 MP camera, on-board microphone, reset, boot, and function buttons and two LEDs. It features 4MB Flash, 8MB PSRAM, and Micro USB type-C connector.
The ESP-EYE cames flashed with the ESP-WHO facial recognition software. At the time of writing this article, there isn’t much support for Arduino IDE. But there’s a dedicated framework ESP-WHO that you can use to program this board using ESP-IDF.
You can read our overview and first impressions of this board in the following article:
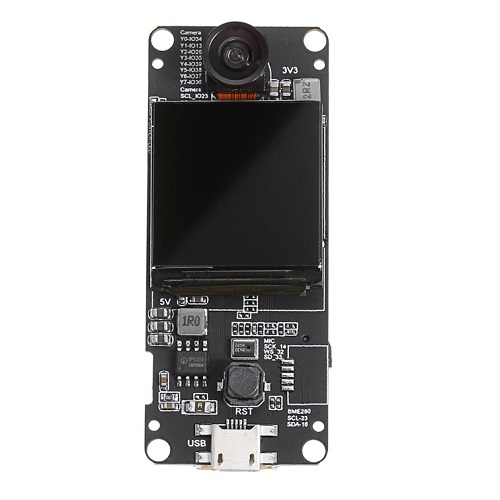
4. TTGO Camera Plus
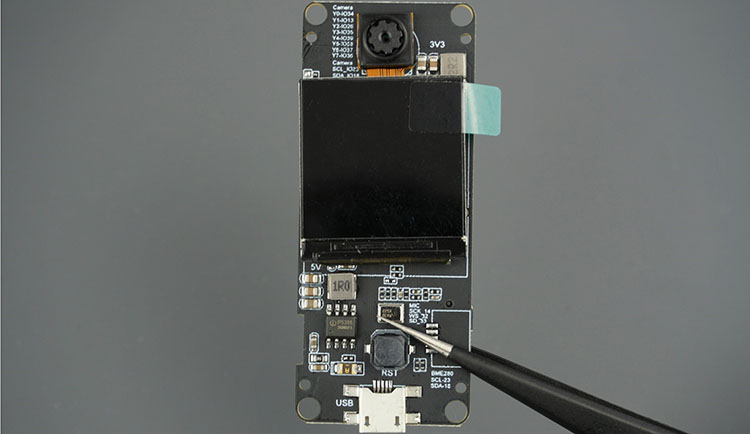
The TTGO camera plus is an ESP32 based board that features a 1.3 inch TFT display, an OV2640 camera, microSD card slot and microphone.
Additionally, there’s also a RST button, a built-in programmer (which makes uploading a new code very easy) and a battery connector. You can find more information about this board on this GitHub page.
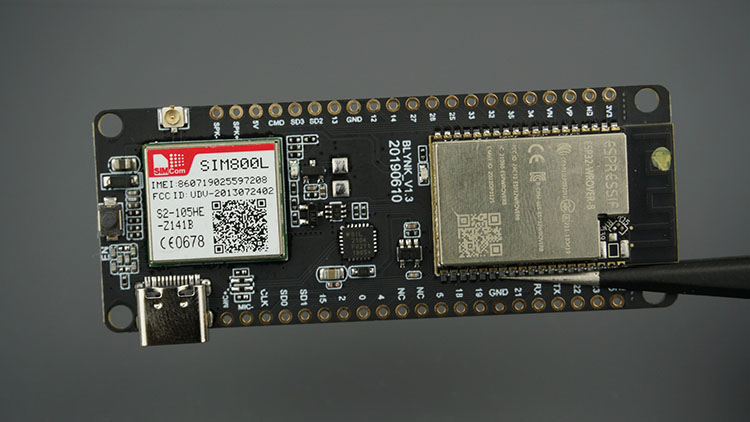
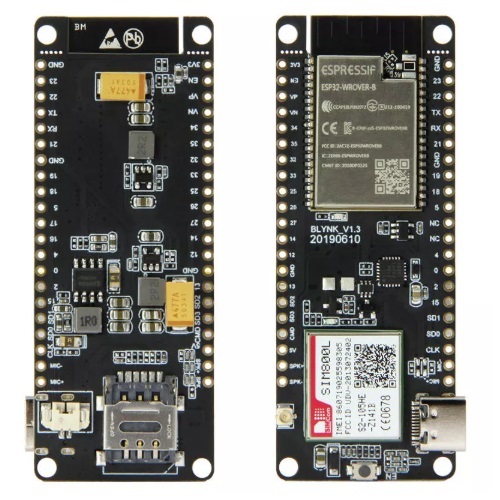
5. T-Call ESP32 with SIM800L
The TTGO T-Call is an ESP32 development board that besides Wi-Fi and Bluetooth also combines a SIM800 GSM/GPRS module. This can be very handy for projects in remote locations, because you can connect the ESP32 to the internet using your SIM card data plan.
You can also control outputs or monitoring sensors just by sending SMS or making phone calls to your ESP32.
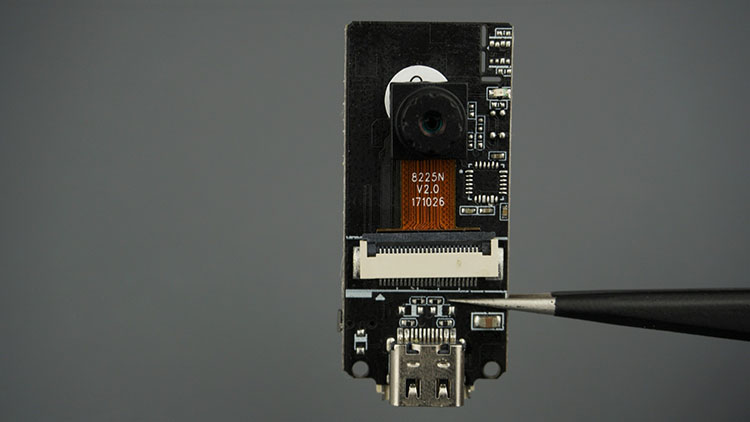
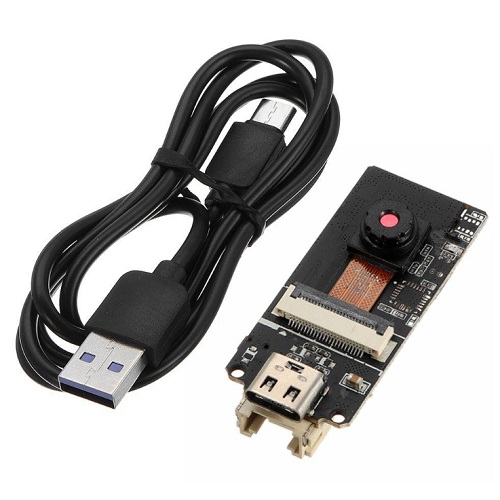
6. M5Stack Camera
The M5Stack Camera is very similar to the EPS32-CAM but it doesn’t have accessible GPIOs and it has a built-in programmer. The built-in programmer makes the uploading process very easy.
Additionally, this board doesn’t have PSRAM, so it can’t run some of the sketches with face recognition. Some people also reported that this board overheats, so it comes with an heat sink that you should glue to the board ESP32 chip.
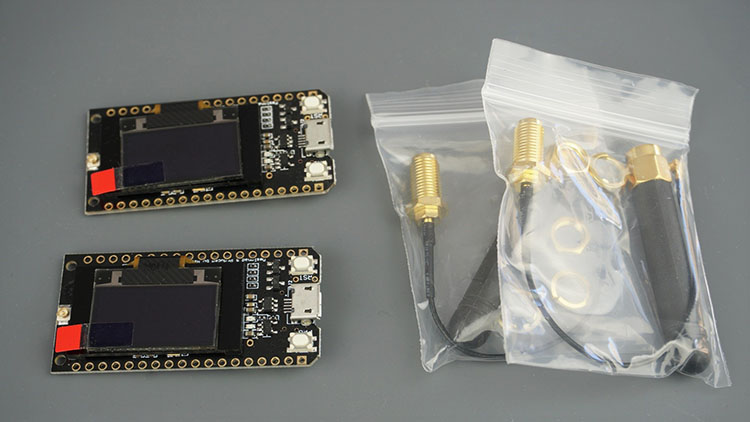
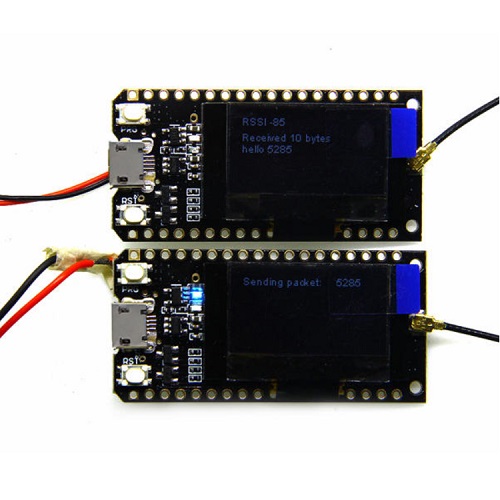
7. TTGO LoRa32
If you’ve followed my previous LoRa projects, you know that I usually use an RFM95 LoRa Transceiver module connected to an ESP32 board. However, the TTGO LoRa32 boards are much more practical because they already have the RFM95 module built-in.
Additionally, they also come with an OLED display, which can be very useful to display LoRa messages or the signal strength, for example. It also comes with an external antenna.
Related: ESP32 with LoRa using Arduino IDE – Getting Started
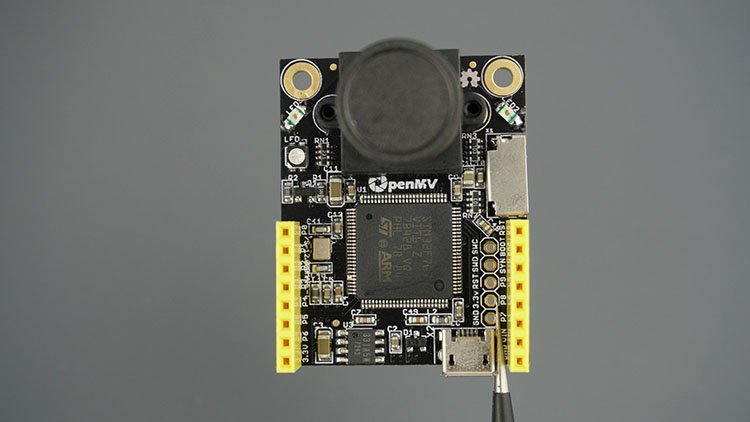
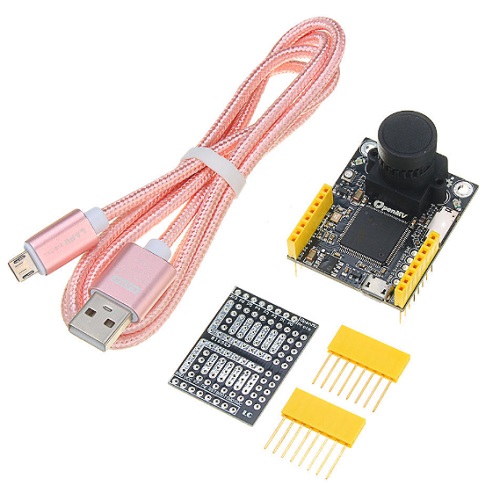
8. OpenMV M7 Camera Board
The OpenMV Cam is a small, low power, microcontroller board dedicated to machine vision projects. The OpenMV Cam can be programmed in Python, which makes complex tasks like face recognition, color detection, object detection, etc, much simpler.
This board also has some GPIOs that you can use to stack several shields, like an LCD shield or a Wi-Fi shield. When you buy the board, you get a prototype shield that you can use to build your own circuits to connect other sensors and modules to trigger taking pictures, recording video and much more.
This board is programmed using OpenMV IDE. The only disadvantage is that you have to pay for each board you want to program with OpenMV IDE. But you’re also supporting the developers of this project.
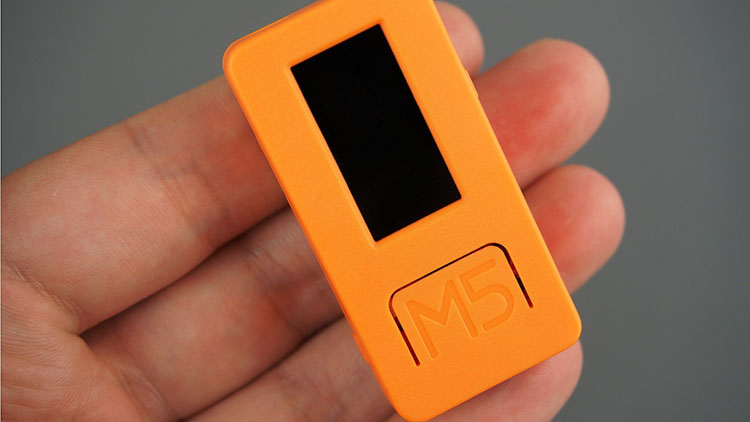
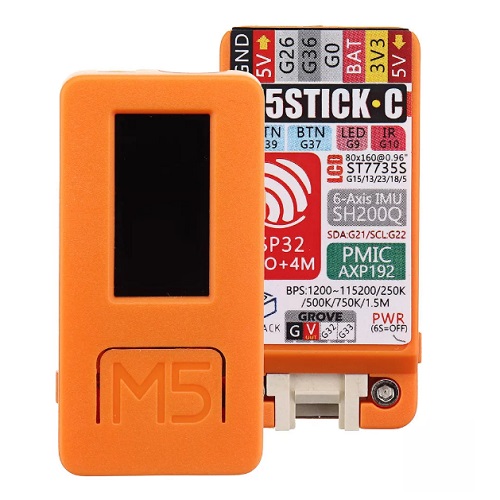
9. M5StickC
The M5Stick is a tiny ESP32 development board. It has several pushbuttons, an LED, a buzzer, an IR transmitter, a giroscope, a grove connector to add other expansion boards, a 1.3inch OLED display, a microSD card slot and much more. It also has some accessible GPIOs if you want to connect other sensors or outputs.
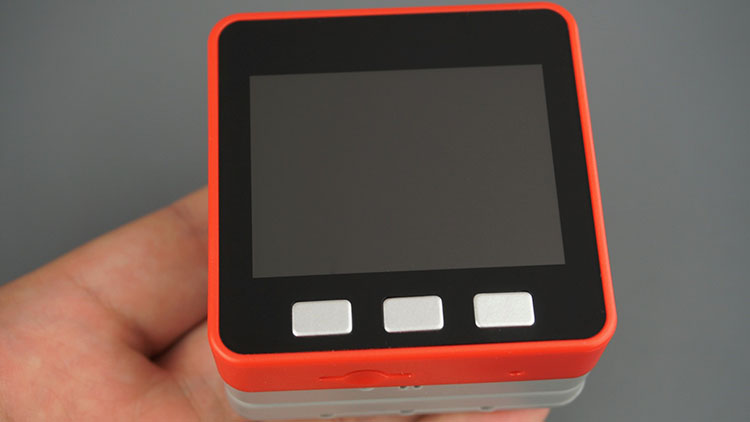
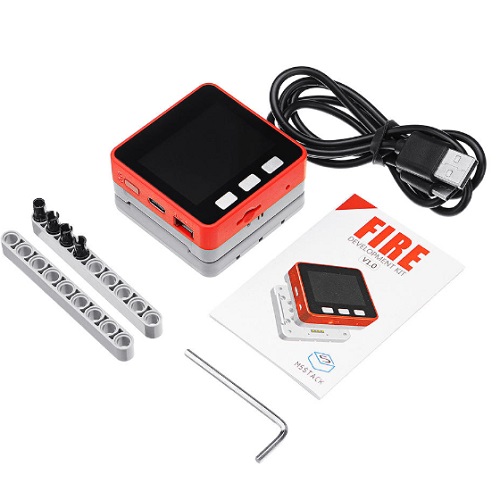
10. M5Stack FIRE Development Kit
The M5Stack is an ESP32 based development board that features a TFT display, several buttons, a microphone, a microSD card slot, gyroscope, a groove connector to add other expansions, magnetic connectors to add other expansible modules, accessible GPIOs, and much more.
Basically, you have an ESP32 board with lots of extra functionalities without worrying about the circuitry. Additionally, the grove connector allows you to add other expansions easily without worrying about the circuit. The same happens for the stackable modules with extra features that you can buy separately, like GSM module, GPS module, and much more.
Wrapping Up
The boards that I’ve shown you here are mainly ESP32 based boards (except for the OpenMV M7 board) that you can use to take your IoT projects to the next level. Each board has different functionalities suitable for different projects, but they all should work in a similar way (like ESP32 boards do).
I hope you liked this article, let me know if you would like to see more content like this. You can also leave in the comment’s below to project suggestions with these boards.
Finally, to learn more about how to program the ESP32, you can enroll in our courses:
- Learn ESP32 with Arduino IDE (eBook + video course)
- MicroPython Programming with ESP32 and ESP8266 (eBook)
Thanks for reading.
[Recommended Course] Learn ESP32 with Arduino IDE
Register in our brand new ESP32 course with Arduino IDE. This is our complete guide to program the ESP32 with Arduino IDE, including projects, tips, and tricks! The registrations are open, so sign up now.
 [eBook] Home Automation using ESP8266 »
 [Course] Build a Home Automation System »
 [Course] Arduino Step-by-Step Projects »
Leave a Reply