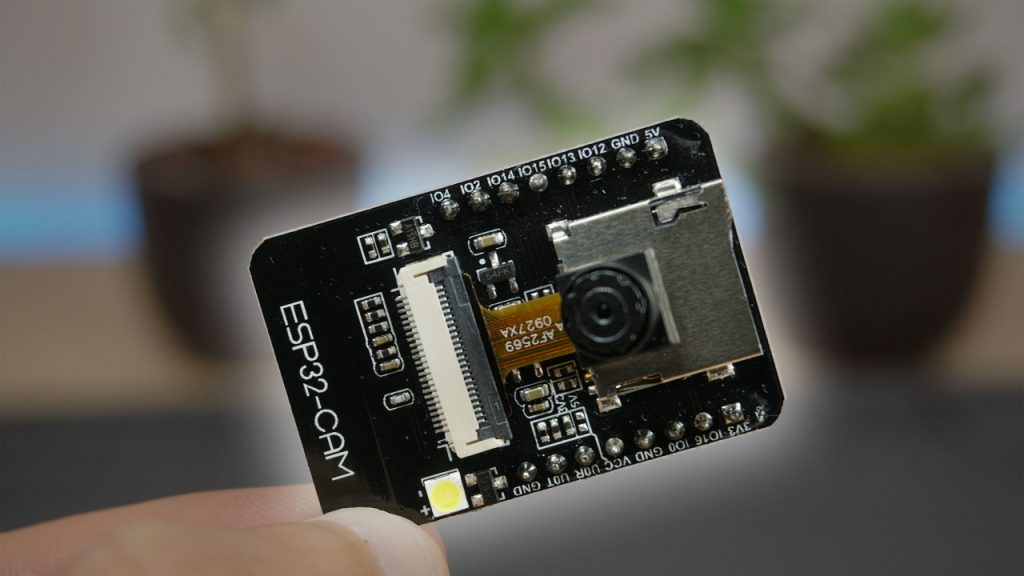
The ESP32-CAM board is a $7 device that combines an ESP32-S chip and an OV2640 camera. It allows you to set up a video streaming web server, build a surveillance camera to integrate with your home automation system, do face recognition and detection, and much more.
Besides the OV2640 camera and several GPIOs to connect peripherals, the ESP32-CAM also features a microSD card slot that can be useful to store images taken with the camera or to store files to serve to clients.
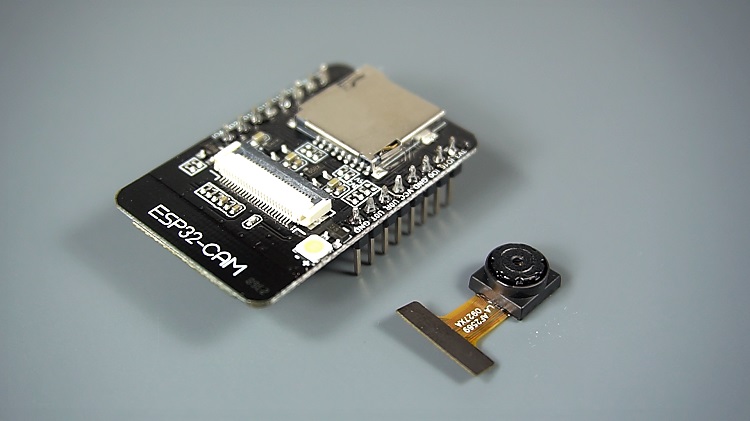
Where to Buy ESP32-CAM
You can get the ESP32-CAM with OV2640 camera in different stores for approximately $7 (or grab ESP32-CAM with an external antenna).


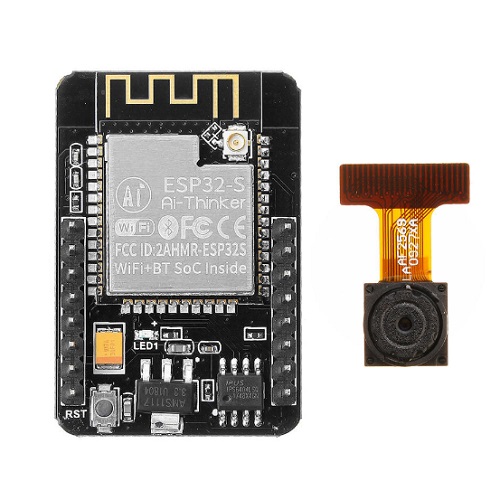
Note: to upload code to the ESP32-CAM board, you need an FTDI programmer, so you might consider getting one when you buy your board. Or you can get the best ESP32-CAM-MB Micro USB Programmer – CH340G Serial Chip.
ESP32-CAM Getting Started Guide
For a quick introduction to the ESP32-CAM, you can watch the video below or read our full getting started guide: ESP32-CAM Video Streaming and Face Recognition with Arduino IDE. This guide shows you how to quickly set up a video streaming with face recognition and detection in less than 5 minutes.
ESP32-CAM Surveillance Camera
The following video shows how to build a simple video streaming web server with the ESP32-CAM and how to integrate it with Home Assistant. For the written instructions, you can read our tutorial: ESP32-CAM Video Streaming Web Server (works with Home Assistant).
ESP32-CAM Take Photo and Save to MicroSD Card
Learn how to take photos with the ESP32-CAM and save them in the microSD card by watching the following video tutorial. You can read our project page or the written instructions and code: ESP32-CAM Take Photo and Save to MicroSD Card.
ESP32-CAM PIR Motion Detector with Photo Capture
In this project, we’ve built a motion sensor detector with photo capture using an ESP32-CAM. When your PIR sensor detects motion, it wakes up, takes a photo, and saves it in the microSD card. Read project page: ESP32-CAM PIR Motion Detector with Photo Capture.
ESP32-CAM Take Photo and Display in Web Server
Learn how to build a web server with the ESP32-CAM board that allows you to send a command to take a photo and visualize the latest captured photo in your browser saved in SPIFFS. We also added the option to rotate the image if necessary. Read project page: ESP32-CAM Take Photo and Display in Web Server.
ESP32-CAM Specifications and Features
Here is a list with the ESP32-CAM features:
- 10 GPIOs exposed
- The smallest 802.11b/g/n Wi-Fi BT SoC Module (extend Wi-Fi coverage)
- Low power 32-bit CPU, can also serve the application processor
- Up to 160MHz clock speed, summary computing power up to 600 DMIPS
- Built-in 520 KB SRAM, external 4MPSRAM
- Supports UART/SPI/I2C/PWM/ADC/DAC
- Support OV2640 and OV7670 cameras (change camera settings)
- Built-in flashlight
- Support image WiFI upload
- Support TF card
- Supports multiple sleep modes
- Embedded Lwip and FreeRTOS
- Supports STA/AP/STA+AP operation mode
- Support Smart Config/AirKiss technology
- Support for serial port local and remote firmware upgrades (FOTA)
Wrapping Up
This is quick overview of the ESP32-CAM main features. For a dedicated getting started guide and tutorials, read the following articles:
- Video streaming, face detection and recognition
- ESP32-CAM Video Streaming Web Server (Home Assistant, Node-RED)
- ESP32-CAM Take Photo and Save to MicroSD Card
- ESP32-CAM PIR Motion Detector with Photo Capture
- ESP32-CAM Take Photo and Display in Web Server
- ESP32-CAM AI-Thinker Pinout Guide: GPIOs Usage Explained
- Build ESP32-CAM Projects (eBook)
- Read all our ESP32-CAM Projects, Tutorials and Guides
You may also like reading:
- ESP-EYE: New ESP32-based board for AI
- TTGO T-Camera Plus ESP32 Development Board – Review
- ESP32 vs ESP8266 – Pros and Cons
- Best ESP8266 Wi-Fi Development Board
- ESP32 Development Boards Review and Comparison
Thanks for reading.
[Recommended Course] Learn ESP32 with Arduino IDE
Register in our brand new ESP32 course with Arduino IDE. This is our complete guide to program the ESP32 with Arduino IDE, including projects, tips, and tricks! The registrations are open, so sign up now.
 [eBook] Home Automation using ESP8266 »
 [Course] Build a Home Automation System »
 [Course] Arduino Step-by-Step Projects »
Leave a Reply