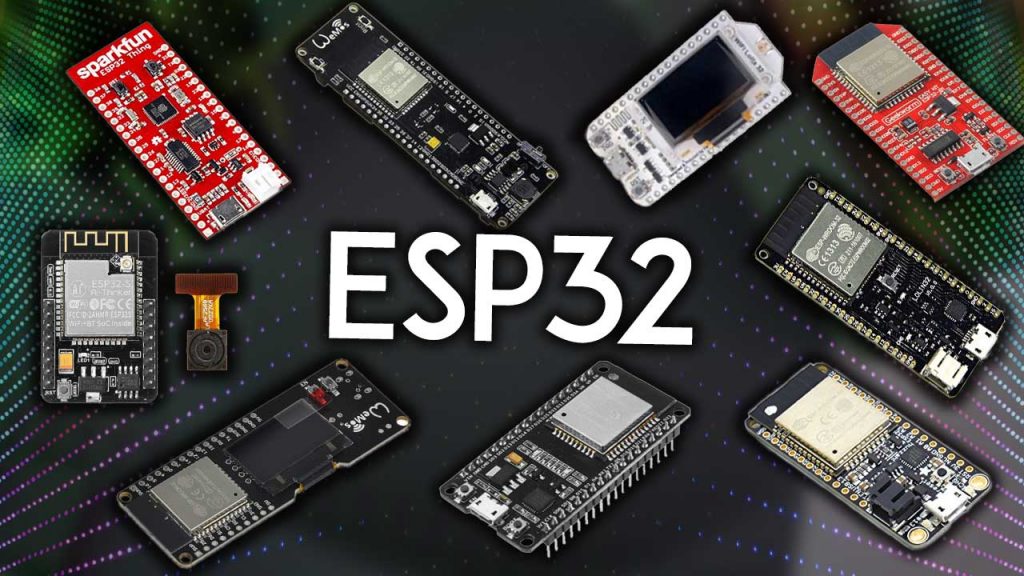
In this article, we’re going to compare several ESP32 development boards. This article aims to help you choose the best ESP32 development board for your project requirements.
The ESP32 is the ESP8266 successor (read best ESP8266 development boards). The ESP32 is loaded with lots of new features when compared with its predecessor. It combines Wi-Fi and Bluetooth wireless capabilities and dual-core.
You can find the ESP32 as a standalone chip or as a full-featured development board. There are many ESP32 development boards available. In this review, we’ll take a look at the most popular ones. To learn more about the ESP32 and use it to build IoT projects, we recommend enrolling in our course: Learn ESP32 with Arduino IDE.
Recommended reading: Getting Started with ESP32 Development Board
ESP32 Development Boards Comparison
Figure | Name | Links | GPIOs | Pinout | On-board buttons | Extras |
|---|---|---|---|---|---|---|
 | ESP32 DEV KIT DOIT | 30/36 | EN and BOOT | x |
||
 | Adafruit HUZZAH32 | 28 | RESET | LiPo charger |
||
 | ESP32 Thing | 40 | EN and BOOT | LiPo charger |
||
 | LOLIN32 w/ battery holder | 40 | EN and BOOT | 18650 battery with charging system |
||
 | ESP32 LOLIN OLED | 26 | EN and BOOT | 0.96'' OLED display |
||
 | SX1278 ESP32 (LoRa) | 26 | EN and BOOT | SX1278 LoRa transceiver chip + OLED |
ESP32 Features and Specifications
Here’s a quick run down of some features and specifications of the ESP32 chip:
- Wireless connectivity WiFi: 150.0 Mbps data rate with HT40
- Bluetooth: BLE (Bluetooth Low Energy) and Bluetooth Classic
- Processor: Tensilica Xtensa Dual-Core 32-bit LX6 microprocessor, running at 160 or 240 MHz
- ROM: 448 KB
- SRAM: 520 KB
- Low Power: ensures that you can still use ADC conversions, for example, during deep sleep.
- Peripheral Input/Output:
- peripheral interface with DMA that includes capacitive touch
- ADCs (Analog-to-Digital Converter)
- DACs (Digital-to-Analog Converter)
- I²C (Inter-Integrated Circuit)
- UART (Universal Asynchronous Receiver/Transmitter)
- SPI (Serial Peripheral Interface)
- I²S (Integrated Interchip Sound)
- RMII (Reduced Media-Independent Interface)
- PWM (Pulse-Width Modulation).
- Security: hardware accelerators for AES and SSL/TLS
- Arduino IDE compatible: you can program the ESP32 with the Arduino IDE using the Arduino core. (Windows, Mac OS X, and Linux installation instructions). You can also use other IDEs to program the ESP32 with the Arduino core (like VS Code with the PlatformIO extension, for example).
- Compatible with MicroPython: you can program the ESP32 with MicroPython firmware (Get started with MicroPython on ESP32)
How to Select an ESP32 Development Board
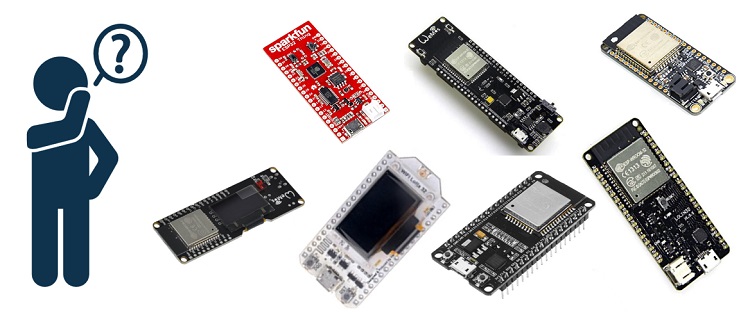
When looking for an ESP32 development board there are several points you need to take into account:
- Pin configuration and the number of pins. To properly use the ESP32 in your projects, you need to have access to the board pinout (like a map that shows which pin corresponds to which GPIO and its features). So make sure you have access to the pinout of the board you’re getting. Otherwise, you may end up using the ESP32 incorrectly. We recommend looking at our ESP32 GPIO Reference Guide that shows how to use the ESP32 GPIOs properly.
- USB-to-UART interface and voltage regulator circuit. Most full-featured development boards have these two features. This is important to easily connect the ESP32 to your computer to upload code and apply power.
- BOOT and RESET buttons to put the board in flashing mode or reset (restart) the board.
- Battery connector. If you want to power your ESP32 using batteries, there are development boards that come with connectors for LiPo batteries—this can be handier. You can also power a “regular” ESP32 with batteries through the power pins.
- Extra features. There are ESP32 development boards with extra features like an OLED display, a LoRa module, a SIM800 module (for GSM and GPRS), a battery holder, or a camera.
Related content: ESP32 vs ESP8266 – Pros and Cons
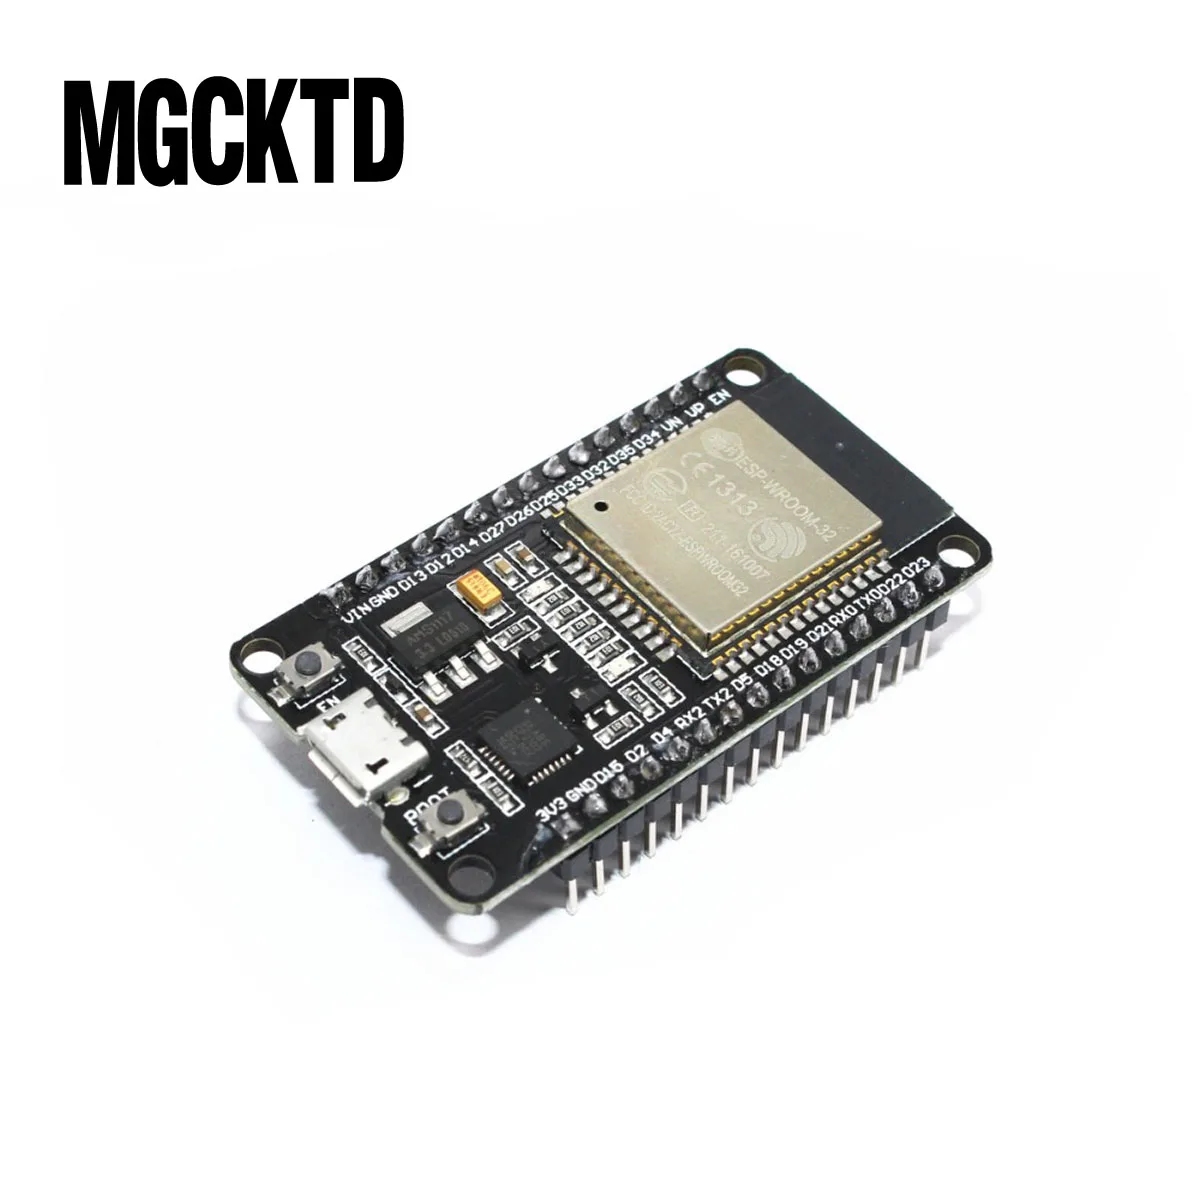
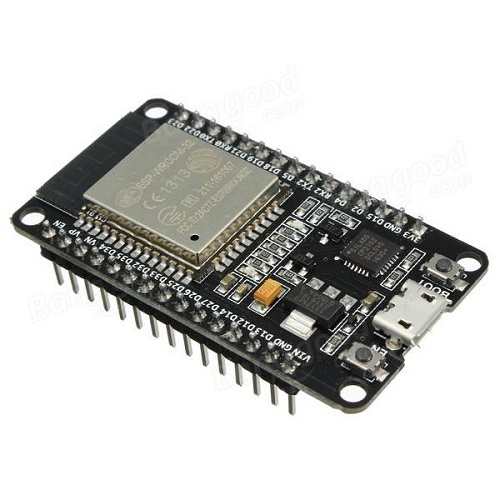
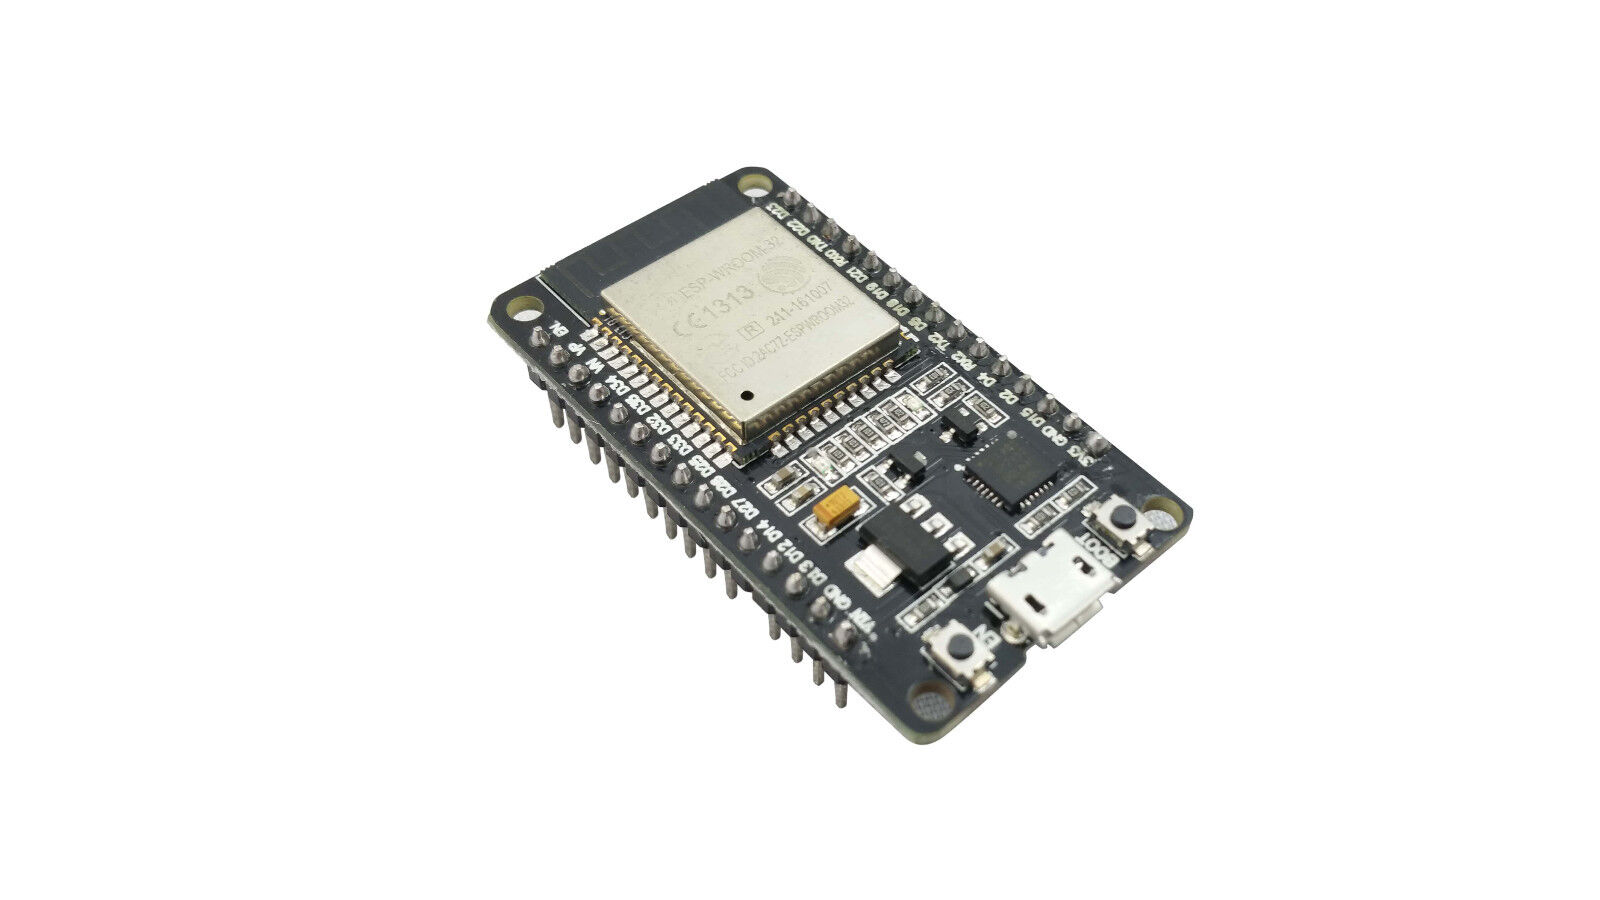
1. ESP32 DEVKIT DOIT
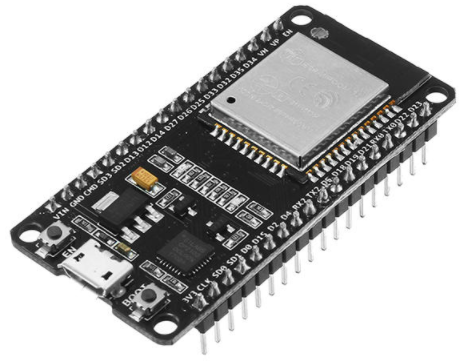
This is the ESP32 DEVKIT DOIT board (this is our favorite ESP32 development board). There are two versions of this board, with 30 and with 36 GPIOs. Both work in a similar way. I prefer the version with 30 GPIOs because it comes with two GND pins (however, it’s been difficult to find the version with 30 GPIOs available online). Additionally, even though the other model comes with more GPIOs, the extra ones are not recommended to use (they are connected to the ESP32 integrated flash memory).
The pins are labeled at the top of the board, so it is easy to identify the pins to connect peripherals (there are other models with the labels on the other side, so it is more difficult to identify the GPIOs). It comes with onboard RESET (EN) and BOOT buttons. It comes with a USB-to-UART interface to easily program it using Arduino IDE or other development environments and comes with a voltage regulator circuit. The board can be powered using the micro-USB connector or the VIN or 3.3V pins, and it doesn’t come with a battery connector.


2. Adafruit ESP32 Feather
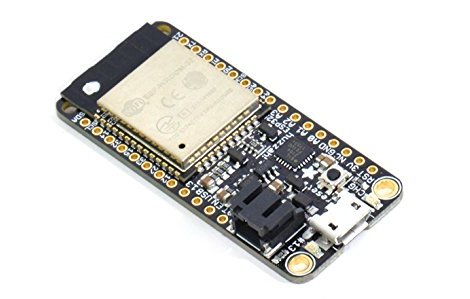
This is the ESP32-based board from Adafruit. Like the previous one, it comes with a USB-to-UART interface and voltage regulator circuit. The pins are labeled at the top and the bottom of the board. A great addition to this board is the Lipoly battery connector. This is perfect for portable battery-powered projects.
When you get something from Adafruit, you know it is always high-quality. So, if you are willing to spend a bit more on a great quality product, this is the perfect option. Additionally, Adafruit has a lot of documentation about its boards, which is great to get started quickly.


3. Sparkfun ESP32 Thing
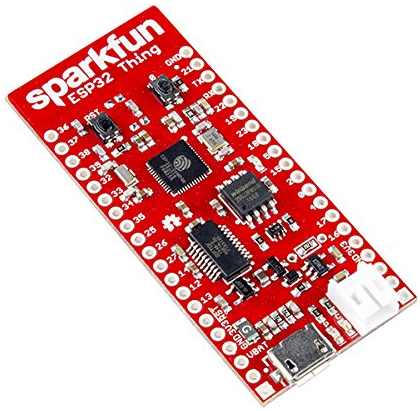
The ESP32 Thing is the ESP32-based board from Sparkfun. It comes with all the functionalities to easily communicate and program the ESP32 with your computer. In addition, it comes with a connector for LiPo batteries and a LiPo charger. This means rechargeable batteries can be easily charged by plugging 5V into the board through the USB connector. Sparkfun also has a lot of good documentation about this board.


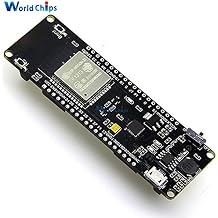
4. ESP32 with Battery Holder
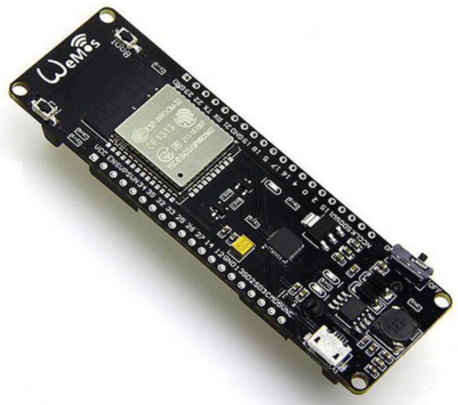
This ESP32 development board comes with a battery holder at the back to provide power through a 18650 battery. This board also includes a 18650 battery charging system and two LEDs to indicate the battery state. This is a great choice if you want something compact running on batteries. Additionally, this board can charge and work at the same time.


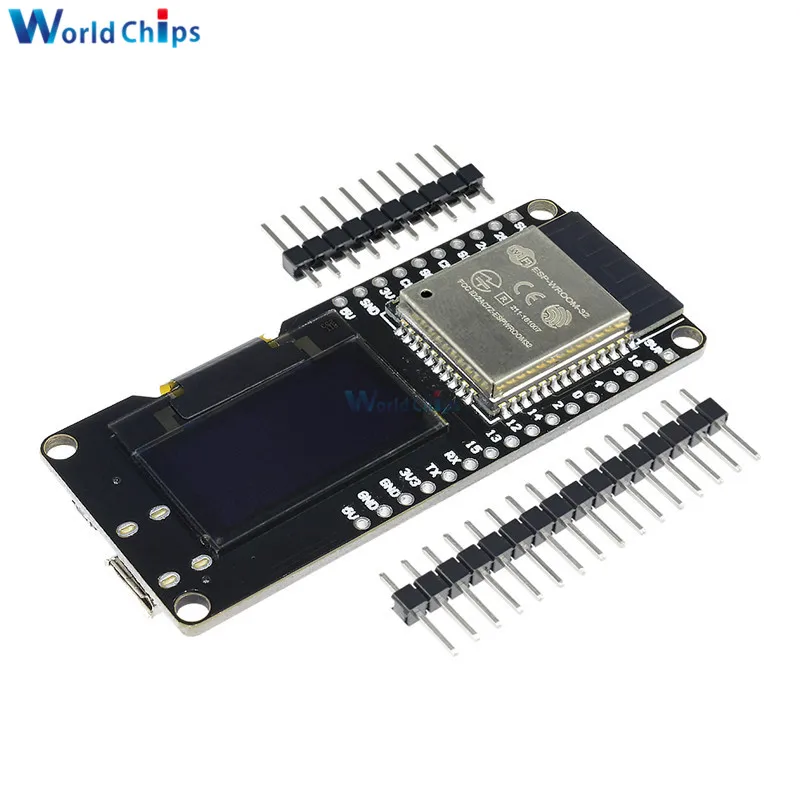
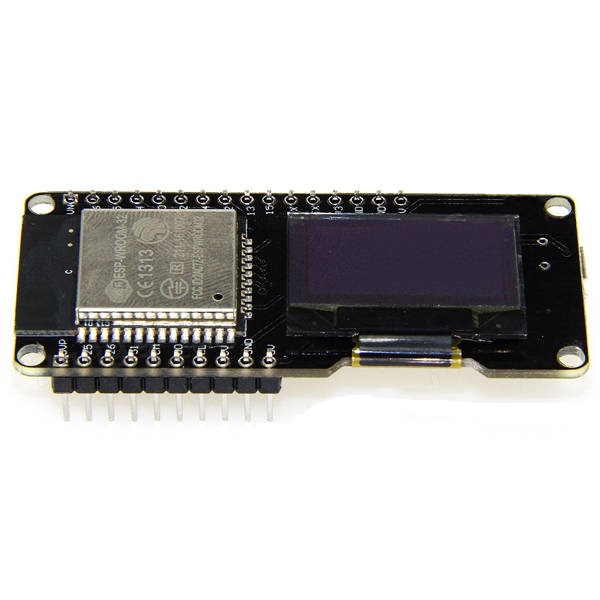
5. ESP32 with OLED
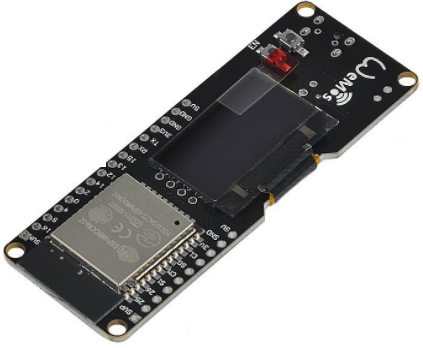
This ESP32 board is similar to the previous one, but instead of a battery holder, it comes with a 0.96” SSD1306 OLED display. This is perfect for adding an interface to your projects without worrying about the circuitry. However, this board comes with fewer available GPIOs to connect peripherals. So, before getting this board, check its pinout to see if it can connect the peripherals you need for your project.
You can read our getting started guide and learn how to control the OLED display:


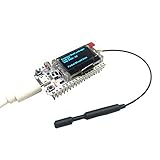
6. ESP32 SX1278 (LoRa)
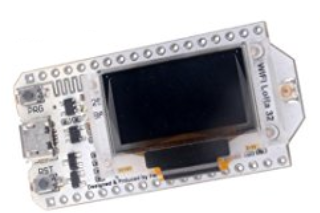
This ESP32 board comes with the SX1278 chip, which is a LoRa transceiver chip. LoRa is a wireless data communication technology that allows long-range communication of small amounts of data while minimizing power consumption. It comes with an OLED display, which is handy to display LoRa messages. If you intend to do a project with LoRa using the ESP32, this can be a great option since it already comes with the LoRa transceiver chip. We also recommend these LoRa boards.
Learn how to use LoRa with the ESP32:
If you don’t plan to use LoRa in your projects, there are better ESP32 options.


Other ESP32 Development Boards
Many other ESP32 development boards have different features that might be more useful than a regular ESP32, depending on your project requirements. Here’s a list of some ESP32 boards with special features that might be handy for your projects:
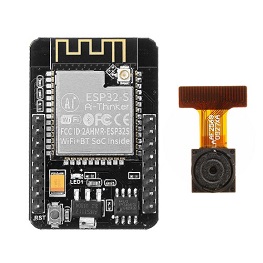
- ESP32-CAM: ESP32 development board with a camera, microSD card slot, and several GPIOs. There are several ESP32 camera boards available (ESP32 Camera Dev Boards Review and Comparison (Best ESP32-CAM).
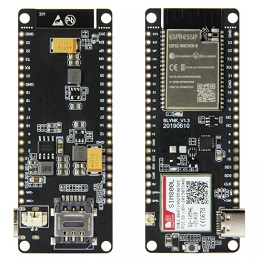
- TTGO T-Call ESP32 with SIM800L GSM/GPRS: ESP32 development board that combines a SIM800L GSM/GPRS module. Allows you to connect the ESP32 to the internet using a SIM card data plan.
- ESP32 with Built-in SX1276 LoRa and SSD1306 OLED Display: similar to the LoRa board we’ve seen previously, but from another supplier/brand. (Get started with the LoRa SX1276 OLED).

Get Started with the ESP32 Development Board
You can easily get started with the ESP32 using our resources:
- [Course] Learn ESP32 with Arduino IDE
- [eBook] MicroPython Programming with ESP32 and ESP8266
- Getting Started with ESP32 Dev Module
- Installing the ESP32 Board in Arduino IDE
- ESP32 Pinout Reference and GPIOs Guide
- ESP32 Useful Wi-Fi Library Functions (Arduino IDE)
- More ESP32 Projects/Tutorials…
Here’s a list of free ESP32 projects with Arduino IDE you may like:
- Getting Started with ESP32 Bluetooth Low Energy (BLE)
- ESP32 Data Logging Temperature to MicroSD Card
- ESP32 with DC Motor and L298N Motor Driver – Control Speed and Direction
- Build an All-in-One ESP32 Weather Station Shield
- ESP32 Publish Sensor Readings to Google Sheets
- Telegram: Control ESP32 Outputs (Arduino IDE)
- More ESP32 Projects/Tutorials…
Here’s a list of free ESP32 projects with MicroPython firmware you may like:
- Getting Started with uPyCraft IDE MicroPython for ESP32/ESP8266
- Getting Started with Thonny MicroPython (Python) IDE for ESP32/ESP8266
- MicroPython with ESP32/ESP8266 GPIOs
- More ESP32 with MicroPython Projects
Wrapping Up
In this article, we’ve compared a selection of ESP32 development boards. The ESP32 DEVKIT DOIT, the Adafruit ESP32 Feather, and the ESP32 thing are all very similar. These don’t come with extra hardware, so they are easier to use, and those are the ones we recommend for beginners. We’ve been using the ESP32 DEVKIT DOIT boards, and they work perfectly. However, if you want something really high-quality, the ESP32 feather and the ESP32 Thing are just great.
If you have a specific project in mind, maybe one of the other models is more suitable. For example, if you intend to add an OLED display to your project, the ESP32 with built-in OLED will provide all you need in a small footprint.
We hope you’ve found this selection and comparison of ESP32 development boards useful. Remember that these are just some of the most popular ESP32 development boards (there are many other modules).
We also have a blog post about the best ESP8266 development boards.
Thanks for reading.
[Recommended Course] Learn ESP32 with Arduino IDE
Register in our brand new ESP32 course with Arduino IDE. This is our complete guide to program the ESP32 with Arduino IDE, including projects, tips, and tricks! The registrations are open, so sign up now.
 [eBook] Home Automation using ESP8266 »
 [Course] Build a Home Automation System »
 [Course] Arduino Step-by-Step Projects »
Obrigado Sara and Rui.
This post was very useful and informative.
Thank you for your support! 🙂
thanks
In the ‘ESP32 with Battery Holder’ section, the product linked to amazon.com appears to be an Esp8266 rather than an Esp32.
Hi.
Thanks for noticing.
It is fixed now.
Regards,
Sara
Vi o comentário em português e fui investigar (random nerd tutorials) quem eram. Fiquei surpreendido por haver tugas com websites deste calibre e conteúdo. Muito agradecido pelo óptimo trabalho, talvez um dia vá ao Porto vos visitar.
Melhores cumprimentos e que tudo corra bem!
Muito obrigado pelo seu apoio!
Thank you so much for following our work.
Regards,
Sara
Excellent resources! Thanks. Recently purchased a few 8266 and ESP32 WROVER and M5STACK. Trying to sort through everyone’s ‘Getting Started’ docs. Lots of different strokes from different folks. (VMs, Vagrant containers, Mingw32/64, Git Bash, Powershell, IDF, IDEs, Putty, SSH, and so on.) The different flavors are overwhelming.
Your page looks much more understandable (so far). But, haven’t seen anything about WROVER.
Thanks for the info.😎
Jeronimo! ; .
‘,
*
Update: Awesome site! Thorny installed in minutes and everything simply connected and everything works, as if I’m in a dream.
Thanks for providing clarity amidst cloudy waters.
😎
That’s great!
Thank you 😀
Hi! I felt miss about esp32-cam. It is a bad board? Thanks
Hello Daniel, we love using the ESP32-CAM and instead of adding it to this list, we’ve created a dedicated Guide ESP32 Camera Dev Boards Review and Comparison (Best ESP32-CAM): https://makeradvisor.com/esp32-camera-cam-boards-review-comparison/
I hope that helps!
Hey, you forgot to mention the official Espressif made ESP32 devkits. Have you used the official devkits from Espressif and if you have how is it in comparison with the DOIT v1 kits.
Thanks
Nice review. Thank you very much.
If possible can you recommend shields to match any of these boards? The WROVER boards I have are the width of the standard breadboards. To be able to attach more than one wire (such as a signal generator or oscilloscope) means having to make my own shield.
Thanks 🙂
I answered your question via email.
You can use two breadboards side by side.
Regards,
Sara
HI Sara, Rui
thanks for your turorials and articles that are always precise and well cared for. You are the top !!!! Do you also have any interesting projects or suggestion for Zigbee technology?
Ciao,
Max from Italy.
Hi Max.
At the moment, we don’t have any tutorials about Zigbee.
Regards,
Sara
Thank you Sara.
Hi Rui and Sara,
Great website!
I like the Adafruit HUZZAH32 because of the featherwings available and its compatibility with the Grove system of peripherals. Makes it easy to build really useful and interesting projects.
Cheers.
Chris