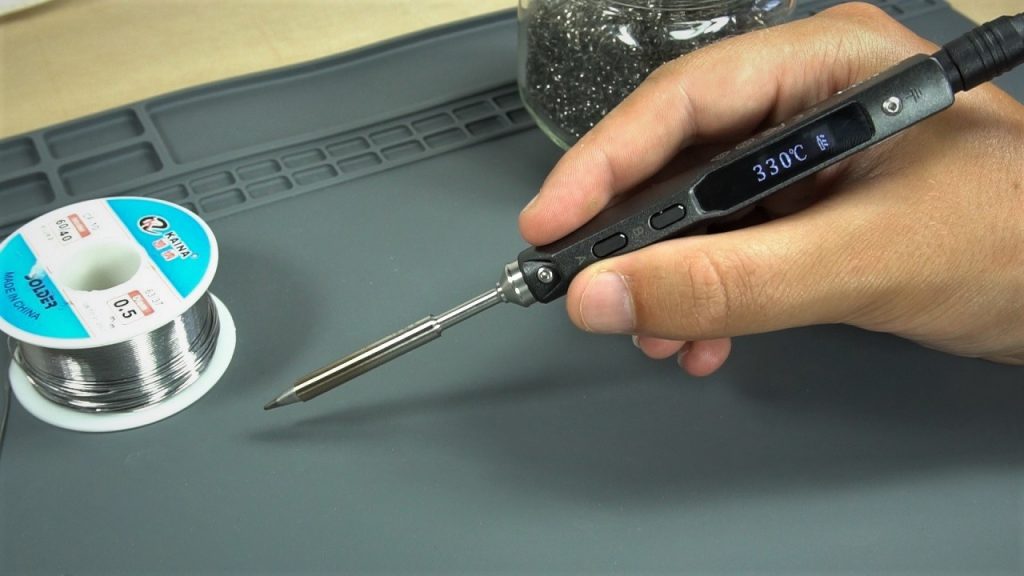
IMPORTANT: TS100 was replaced by the TS80P soldering iron (which is similar, but with improved features). Please read our TS80P review.
The TS100 soldering iron is probably one of the best portable soldering irons for its price at the moment! Better than many “regular” soldering irons within the same price range. In this review we’ll take a look at this handy and great-quality small piece of equipment.
A soldering iron is a must in your toolbox, whether you want to repair some electronic appliances, create a custom PCB for your projects or solder broken wires. However, if you need to perform some field work, a soldering station can be quite difficult to carry around and it occupies a lot of space.
The solution to these problems is the portable mini TS80P soldering iron. This is a temperature-controlled, cheap, lightweight, portable and high-quality soldering iron. Additionally it also has some awesome smart features like the sleep mode. You’ll be surprised!
Where to Buy?
The TS100 portable soldering iron was kindly sent to review from Banggood. At the time of this review, the soldering iron costs approximately $55. Check the current price in the product card below:
(LATEST MODEL) TS80P Digital OLED USB Type-C Programable Soldering Iron
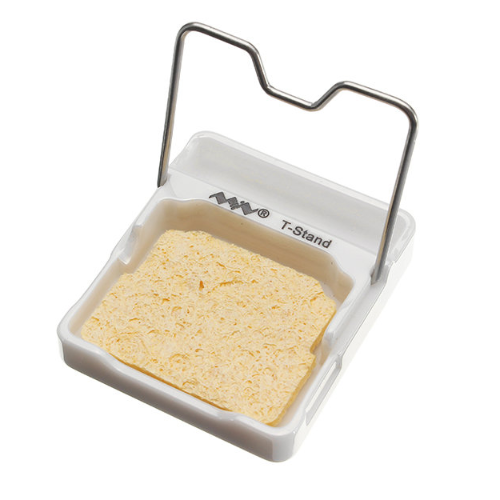
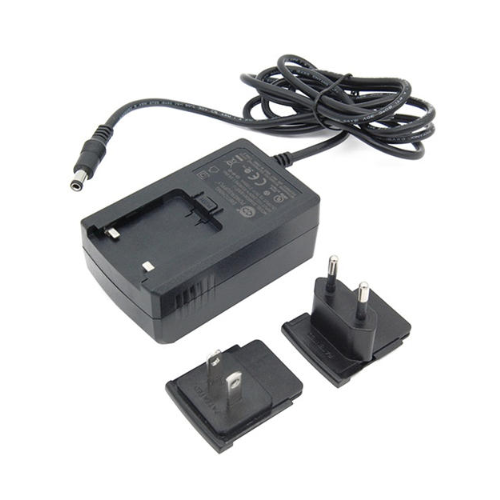
The TS100 Soldering iron doesn’t come with power supply neither a stand for the iron. So, they also recommend you getting the following accessories if you don’t have them already:
Alternatively, you can 3D print an holder yourself. Here’s an example of a design for the TS100 soldering iron holder.
The soldering iron can be powered using a 12V to 24V power source 5.5mm x 2.5mm size input interface. So, if you have one, you don’t need to order another.
The TS100 soldering iron is also available on amazon:
Recommended reading: Best Soldering Irons for Beginners and Hobbyists
Unboxing the TS100 Soldering Iron
The TS100 soldering iron came in a small black cardboard box covered with plastic.
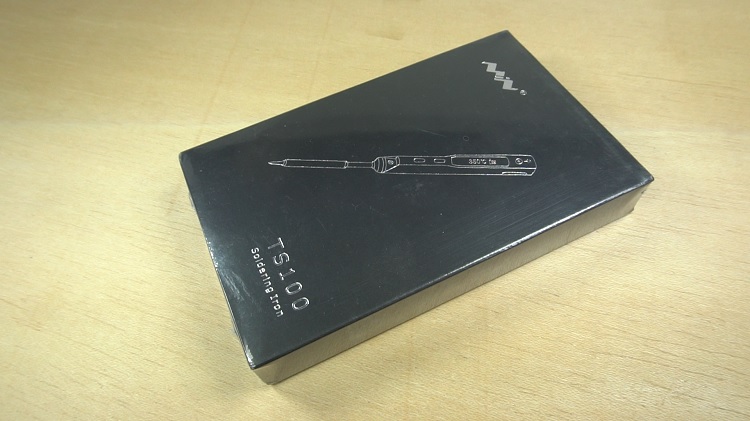
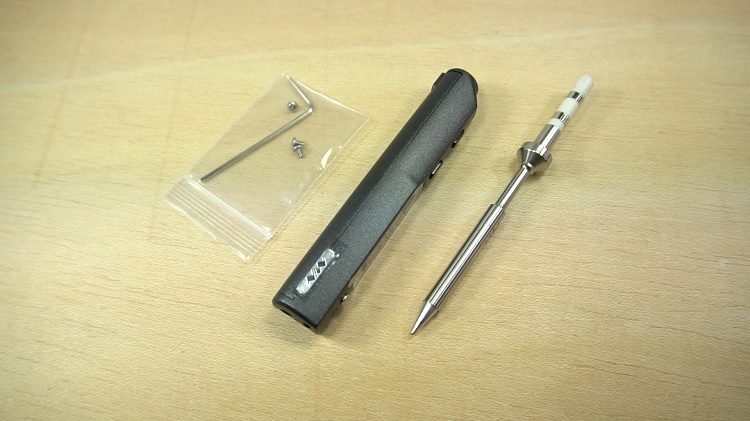
Inside the package you’ll find the soldering iron handle, the heating element with the tip, a small plastic bag with an Allen key and spare screws, and an instructions manual.
Setting Up the TS100 Soldering Iron
Setting up the soldering iron is really simple. You just need to put the handle and heating element together and tight the screw.
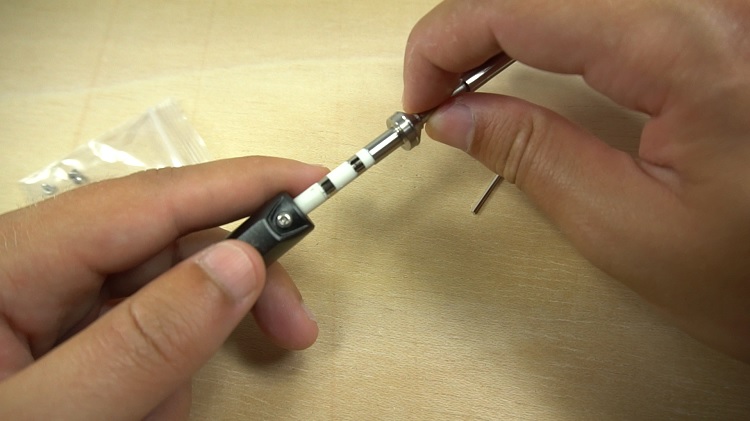
To power up the iron you should use a 12V to 24V power supply. I’m using a 12V power adapter from an old LED strip. But any other power source with the right power requirements should work just fine. Just keep in mind that the connector size is 5.5mm x 2.5mm.

Different power supplies will get different results when it comes to heat up time. Accordingly to the manufacturer:
- 12V (17W): 40 seconds
- 16V (30W): 20 seconds
- 19V (40W): 15 seconds
- 24V (65W): 11 seconds
You may like reading: Top 10 Soldering Accessories and Tools
TS100 Soldering Iron Features
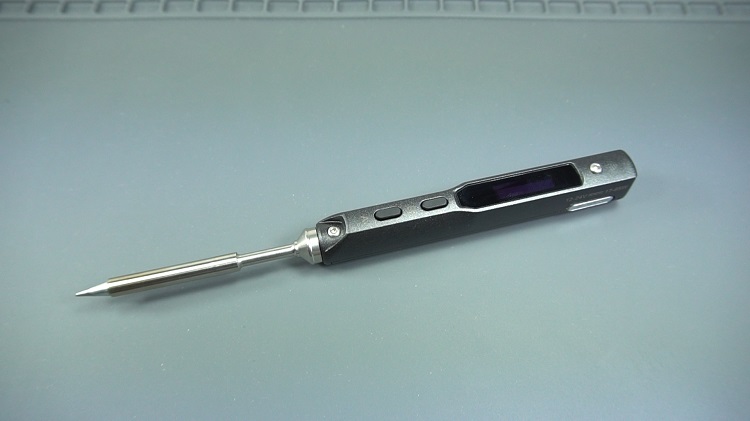
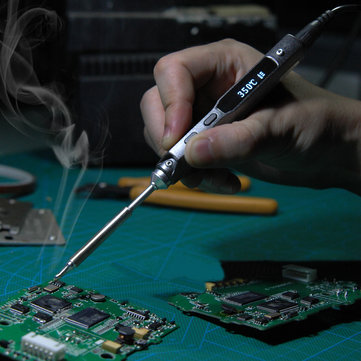
The TS100 soldering iron is pretty small, lightweight, and feels comfortable on your hand.
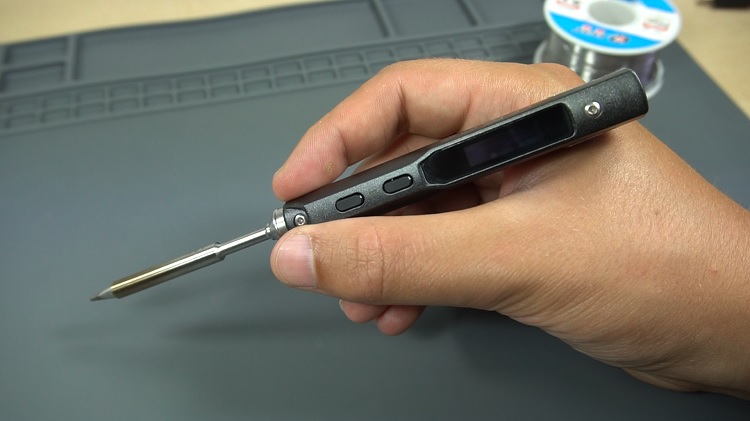
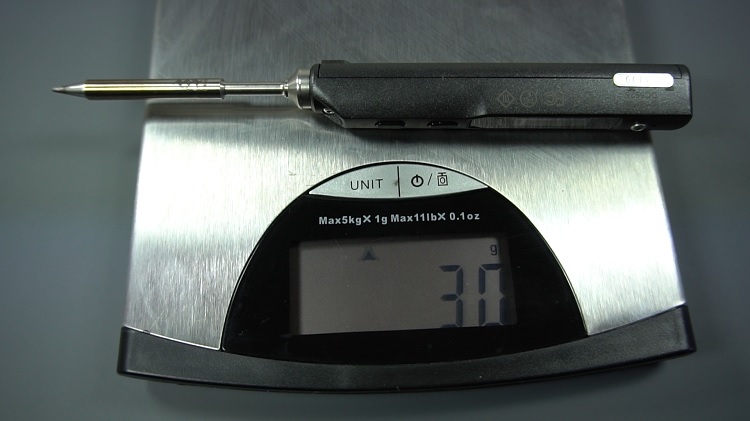
It is approximately 16 cm (6.3 inch) long and weights 30 grams (1 oz).
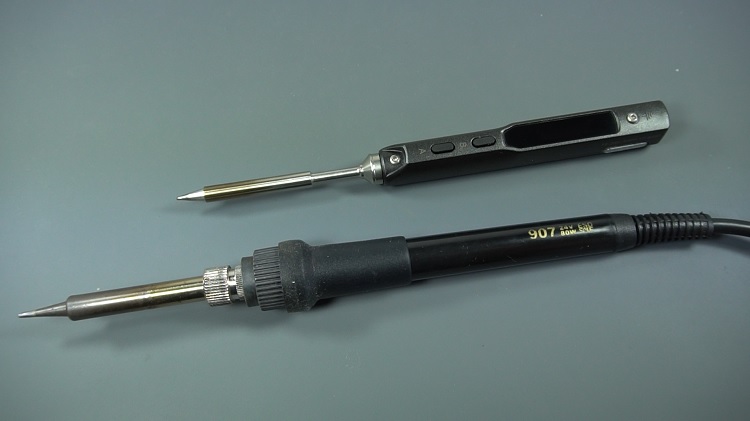
Here’s a photo side by side with a regular iron for means of comparison.
The iron comes with a conical tip which I found perfect for soldering small electronics components.
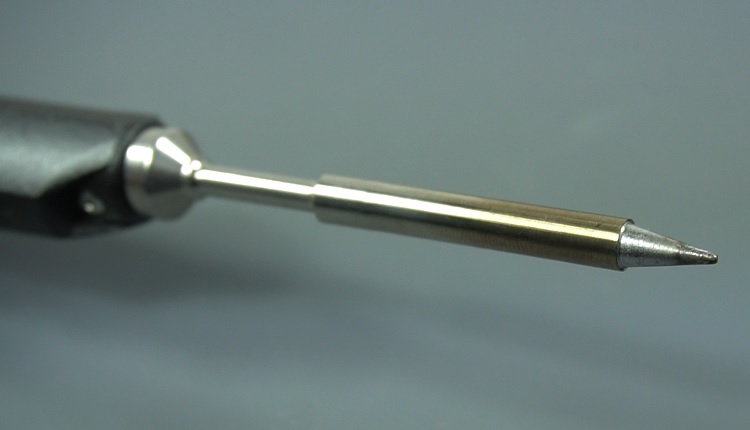
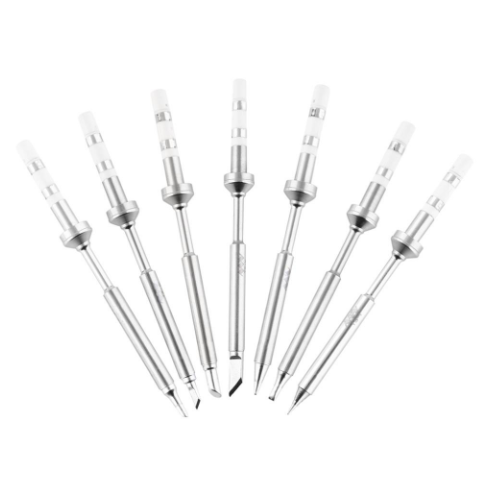
There are compatible tips with other shapes suitable for other soldering jobs.
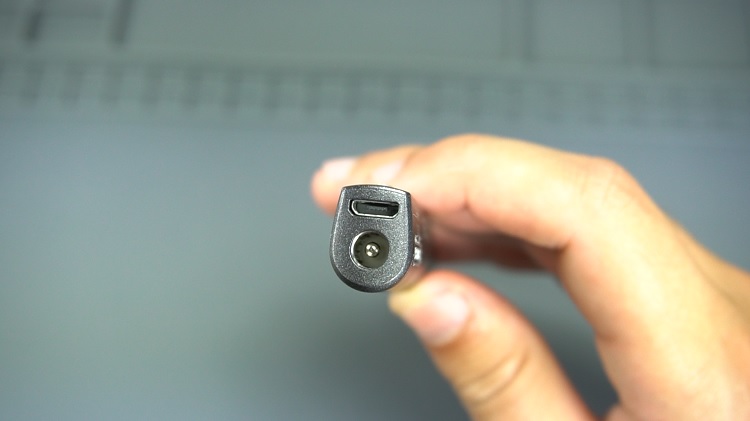
The TS100 soldering iron features an OLED display, two buttons (button A and button B), a barrel socket for power supply and a micro-USB socket.
The micro-USB socket allows you to connect the soldering iron to your computer to update firmware. This iron is open-source which means you can write and upload your own code if you want.
The operation temperature of the iron is adjustable, ranging from 100ºC to 400ºC.
Operating the TS100 Soldering Iron
To use the soldering iron, apply power, and you’ll see the following screen: this is the standby mode.
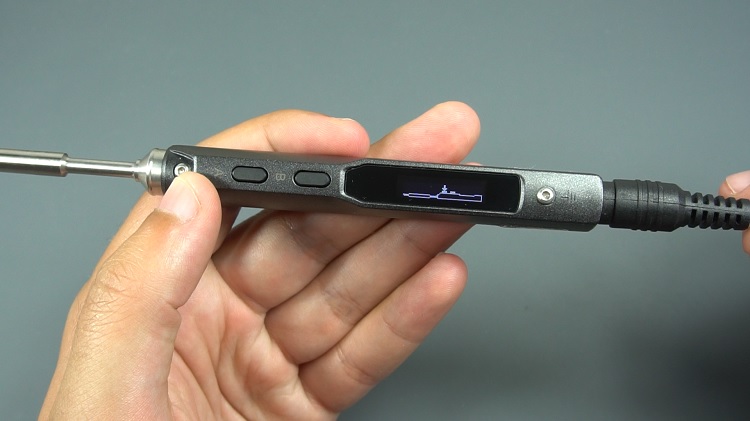
To start using it, you just need to press button A and it will start heating up to the default temperature, which is 300ºC (the default temperature is adjustable, we’ll take a look at that later in this article). We’re showing the temperature in Celsius degrees, but you can configure the soldering iron to display Fahrenheit instead.
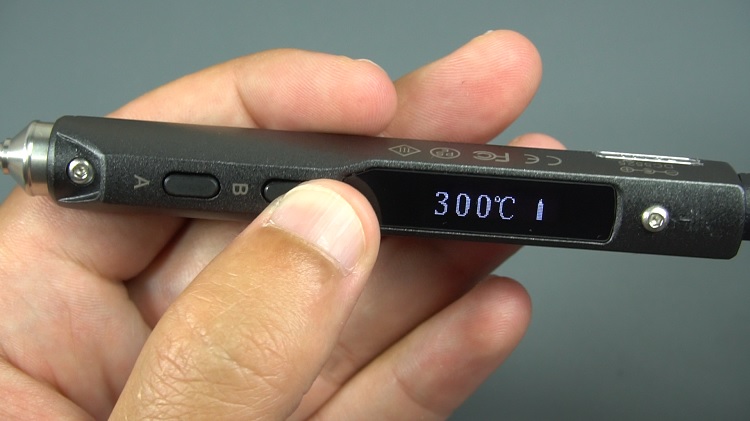
The soldering iron heats up really fast. I’m using a 12V power supply, and it took approximately 30 seconds to heat up from 25ºC to 300ºC. You can get smaller heat up times if you use a power supply that provides a higher voltage. Accordingly to the manufacturer you can get an heat up time as small as 11 seconds at 24V 65W.
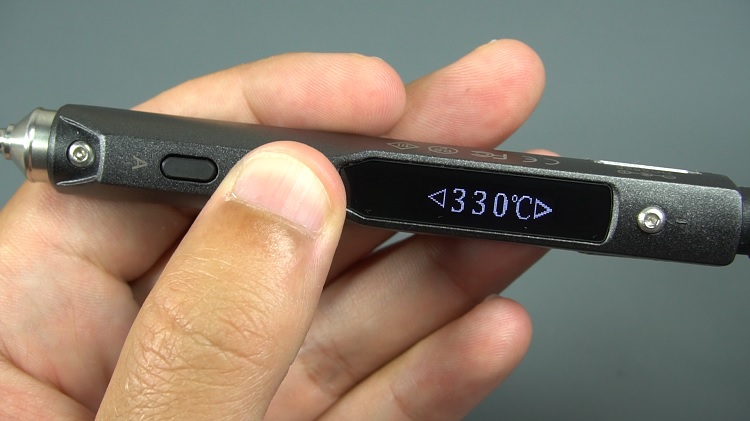
To set the iron to a specific temperature, hold button B until you see two arrows. Then you just need to press button B to increase temperature or button A to decrease.
Sleep Mode
A really cool feature of this soldering iron is the sleep mode. When powered on, if you don’t use the soldering iron for more than 180 seconds it will trigger the sleep mode and the temperature will adjust to the sleep mode temperature (the default sleep temperature is 200ºC).
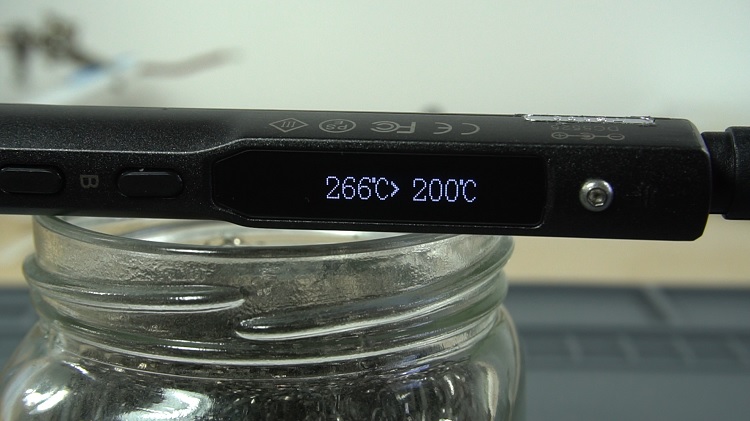
If you grab the iron, it will automatically restart the operation mode and will heat up to the temperature you’ve defined earlier.
If you don’t use the soldering iron longer than the sleep time plus the idle time (9 minutes total), it will go into standby mode.
Configuring the Default Settings
All these settings are configurable:
- standby mode temperature
- working temperature
- time from operation mode to sleep mode
- time from deep sleep to standby mode
To change the default settings, your soldering iron must be in standby mode. Then, press button B to go through all the settings. Hold down button A or B to adjust a specific setting. Don’t press any button for 5 seconds for the changes to take effect.
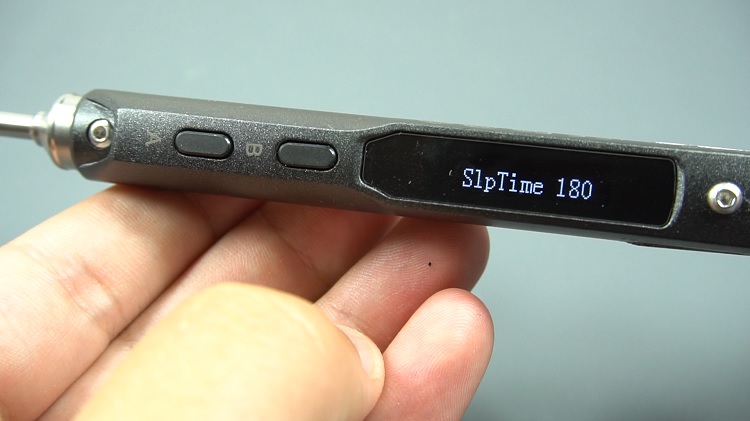
Some soldering irons with older firmware don’t allow you to change the settings on the iron. You’ll need to connect it to your computer and edit the configuration file to change the default parameters.
Testing the TS100 Soldering Iron
Now, let’s test the soldering iron. Apply power and press the A button. After 30 seconds, the soldering iron is ready to go.
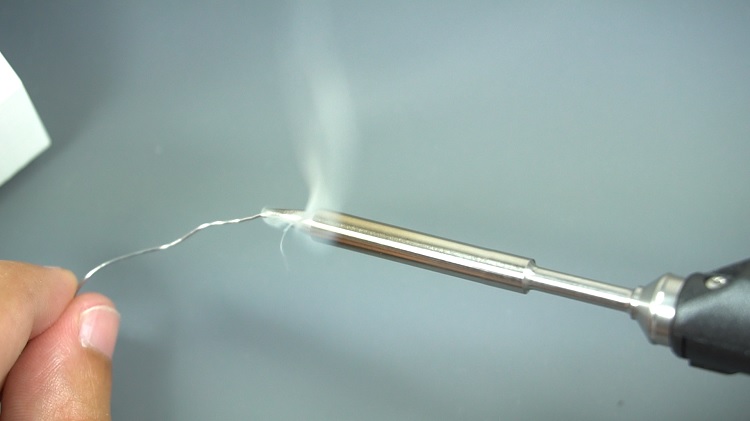
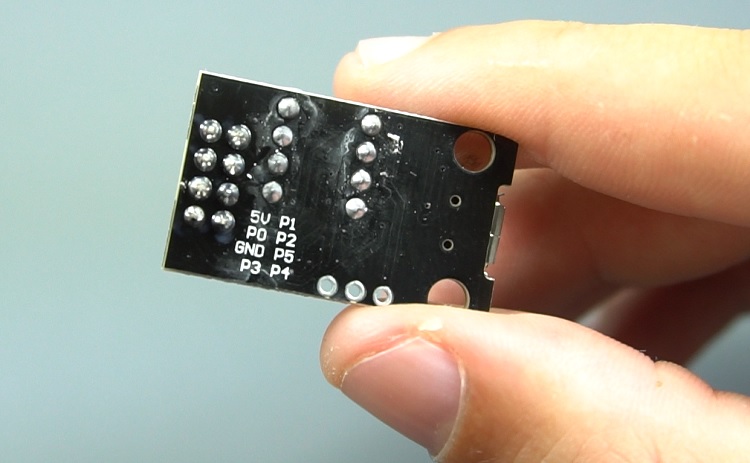
In my work, I need a soldering iron mainly for small electronics components and I found this soldering iron perfect for the job. I’ve soldered some header pins to a PCB, and it worked perfectly.
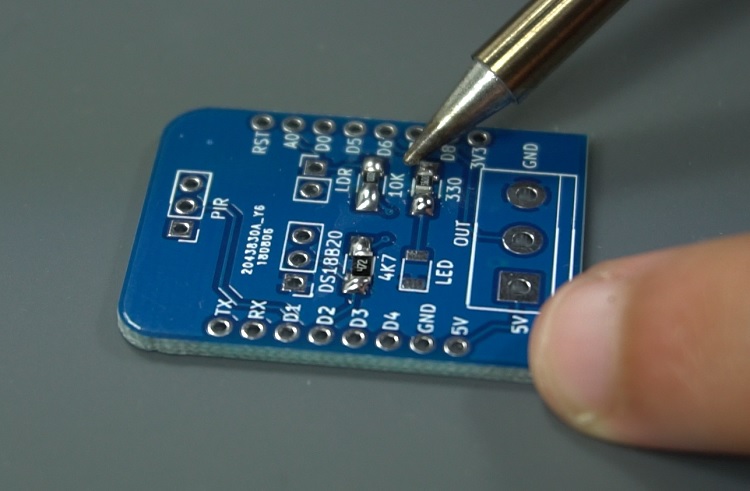
This soldering iron also performed really well soldering small components to a PCB I was working on, including SMD resistors.
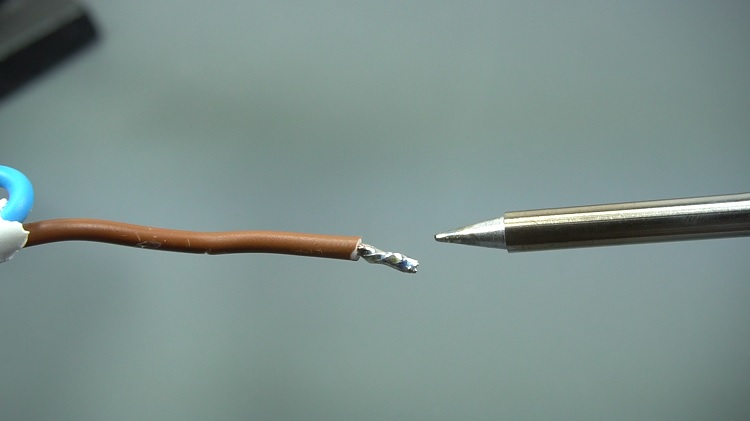
Finally, I’ve also tested tinning some AC wires and I’m really happy with the result.
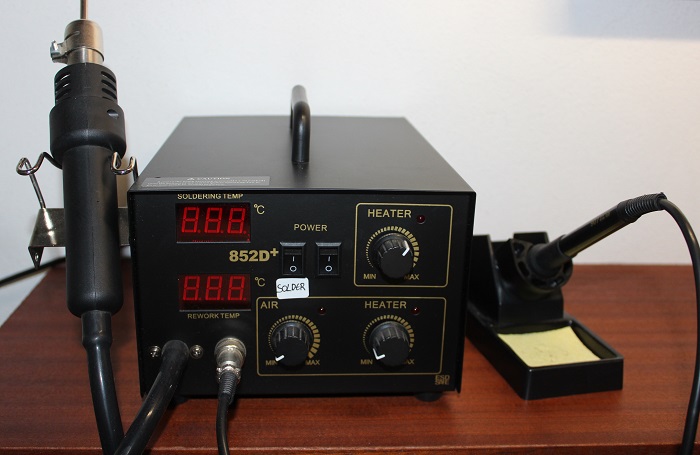
In my opinion this soldering iron performs better than my old soldering station (that costed about $120).
TS80P Soldering Iron – The TS100 Successor
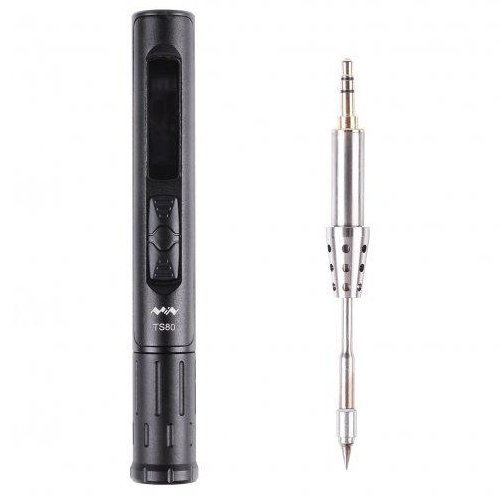
The successor of the TS100 soldering iron is already available and we can’t wait to get one to review: the TS80P soldering iron. It is similar to the TS100 but with newer features and some improvements. The TS80 is an USB soldering iron and you can power it using a power bank. Replacing the tips is even easier as it uses a 3.5 mm plug (similar to the audio jack).
Wrapping Up
IMPORTANT: TS100 was replaced by the TS80P soldering iron (which is similar, but with improved features). Please read our TS80P review.
In summary, I’m very surprised with the TS100 soldering iron and in my opinion it’s really worth the money. It is lightweight, heats up really fast, and performs really well. Additionally it is very small, so it will not occupy much space on your workbench. You can easily carry it around in your pocket to perform some soldering jobs on the field.
The TS100 soldering iron is a very good piece of equipment and I really recommend it.
You can also find the TS100 soldering iron on amazon:
We hope you’ve found this review about the TS100 soldering iron useful. We have other articles about soldering that you might like reading:
Thanks for reading.
[Recommended Course] Learn ESP32 with Arduino IDE
Register in our brand new ESP32 course with Arduino IDE. This is our complete guide to program the ESP32 with Arduino IDE, including projects, tips, and tricks! The registrations are open, so sign up now.

 [eBook] Home Automation using ESP8266 »
 [Course] Build a Home Automation System »
 [Course] Arduino Step-by-Step Projects »
Leave a Reply