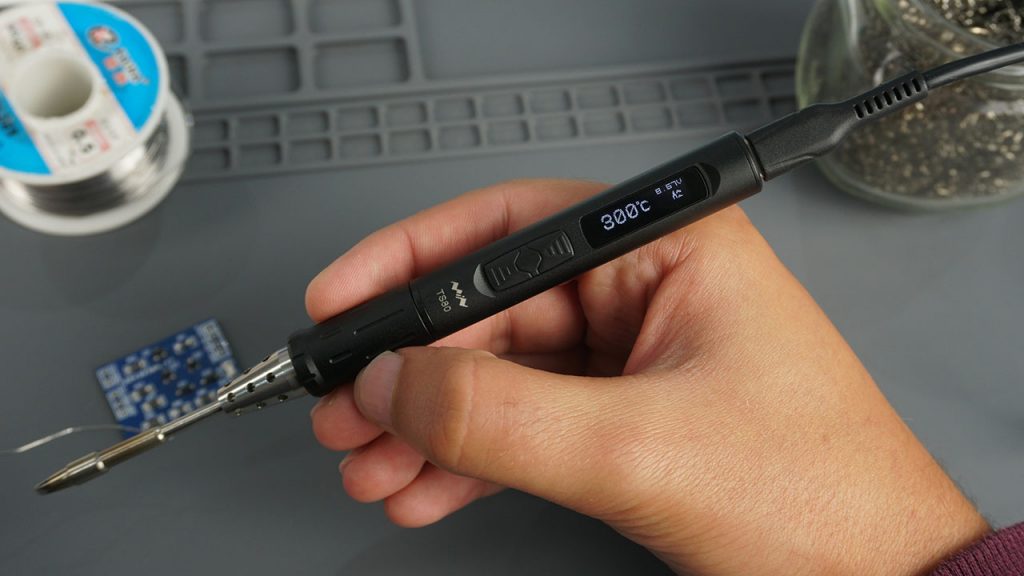
The TS80P is a great, small, lightweight, and high-quality portable soldering iron. I’ve been using this soldering iron in my small electronics projects for a while, and I absolutely love it! In this article, I’ll share my review of the TS80P portable soldering iron.
The TS80P Soldering Iron is the successor of the TS100 and TS80. It is similar to the TS100/TS80 but with newer features, some improvements, and some minor “drawbacks”. I have both soldering irons, and I have to say that both are great pieces of equipment and are probably better than your regular soldering iron.
This is a temperature-controlled, lightweight, portable, fast heating, and high-quality soldering iron. Compared with some soldering stations within the same price range, it can probably do a better job.
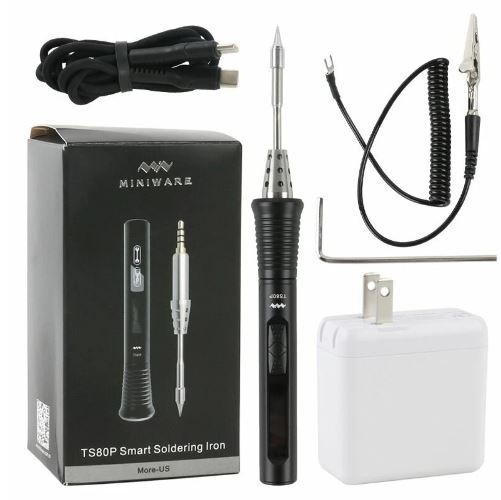
Banggood - TS80P Digital Soldering Iron OLED USB Type-C (complete kit)
$96.34
If you love drones and RC toys, or you often need to repair electronics appliances and perform some work on the field, you’ll find this soldering iron very practical. If you don’t have much space on your workbench and need to solder some PCBs, the TS80P will do a great job. Additionally, if you’re a beginner, this is one of the easiest soldering irons to start with.
Where to Buy the TS80P?
The TS80P soldering iron was kindly sent from Banggood to review, and that’s where you’ll find one of the best prices. You can also get the TS80P soldering iron from other stores:
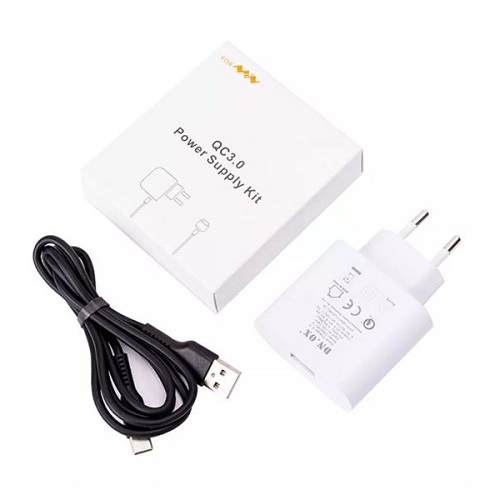
Most stores offer the possibility to choose between a package with just the soldering iron or a package with a power plug adapter. We recommend getting the package with the power plug adapter because it is convenient to power your soldering iron from a wall socket.
If you already have a power plug adapter that supports QC 3.0, you don’t need to get another one.
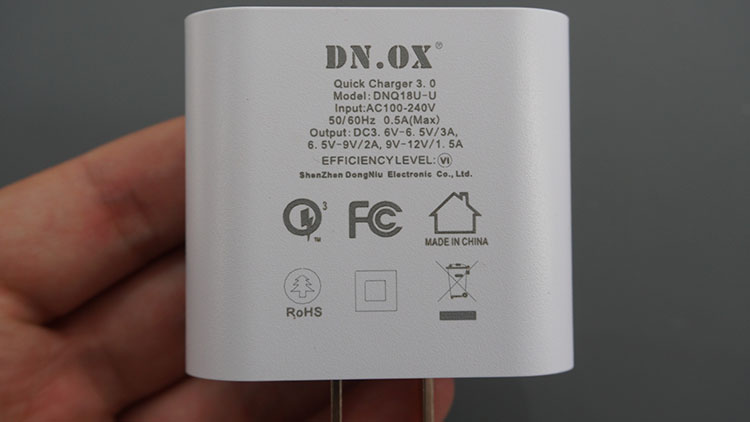
Besides the power adapter, it also comes with a good USB Type-C cable, a safety ground wire, and an Allen key. It is cheaper to get the package with more accessories than getting the accessories separately.
TS80P Accessories
There are other TS80P soldering accessories that you may consider getting when you buy it.
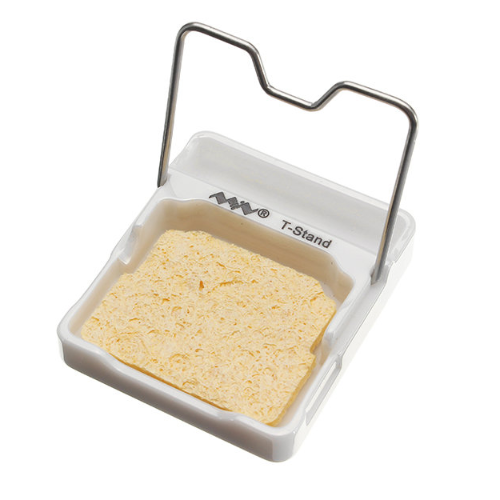
Stand
For example, the TS80P doesn’t come with a stand, so it may be convenient to get one so that you can safely put the iron down.
Tips
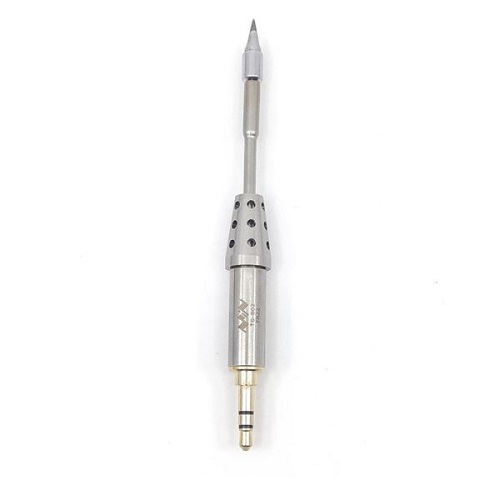
There are interchangeable tips for the TS80. You can get conical, chisel, or knife type tips.
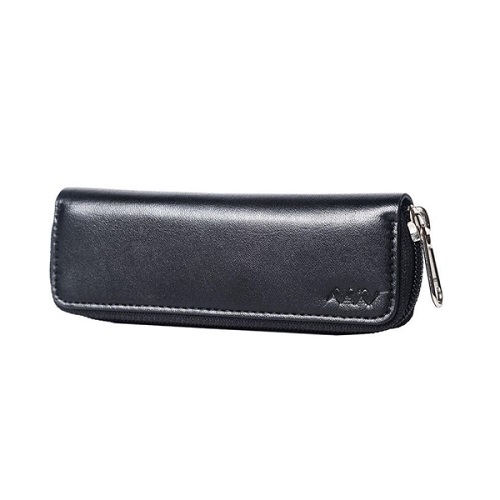
Case
Finally, if you need to carry your iron with you very often, you may get a small case that will fit perfectly in your pocket.
Powering the TS80P Soldering Iron
The TS80P soldering iron can be powered through a USB Type-C cable that supports quick charge 3.0 (QC 3.0). If you get the TS80P with the accessories package, you don’t need to get one as it is already included.
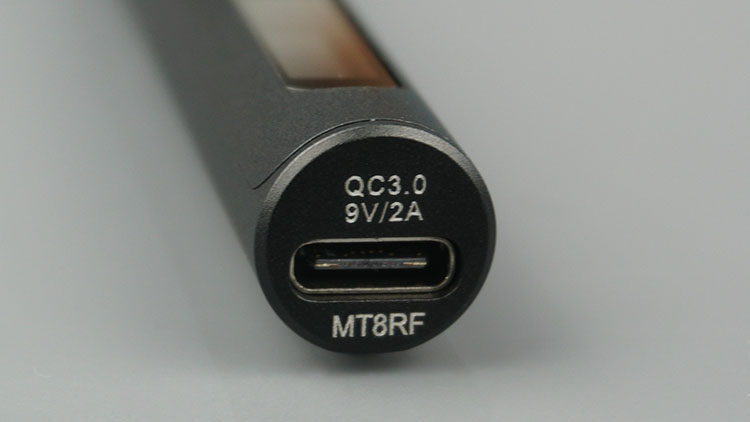
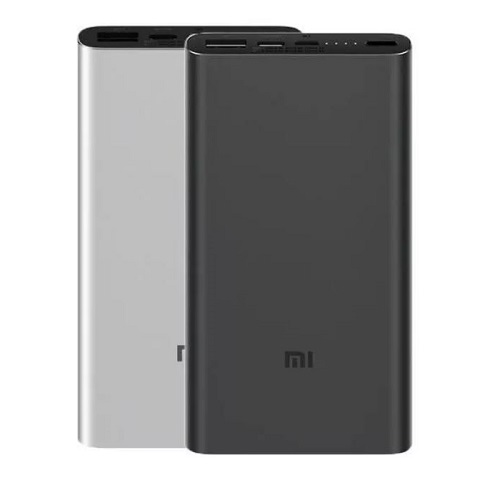
You can get a wall adapter that supports QC 3.0 if you want to power your soldering iron using a wall socket, or you can get a power bank that supports QC 3.0 to make your iron completely portable.
TS80P Soldering Iron Features
The TS80P is a very small soldering iron, even smaller than the TS100. You can see the picture below for comparison purposes.
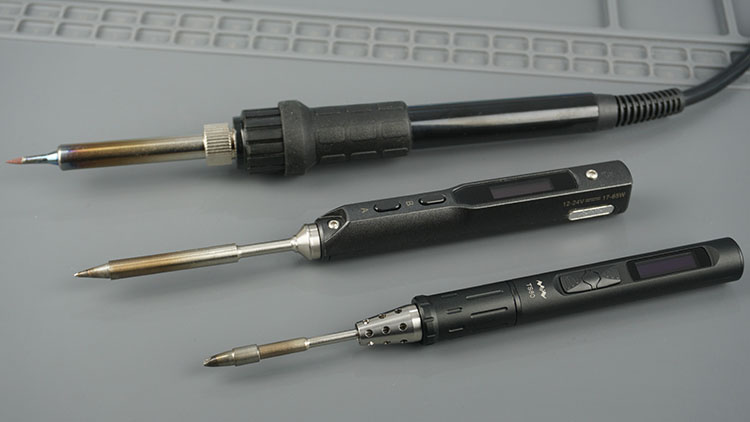
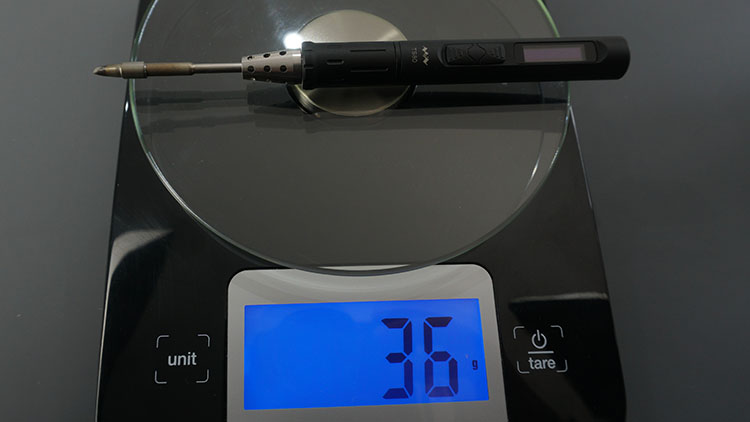
It is approximately 15.5 cm (with the tip) long and only weighs 36.5g. The shell is made of aluminum, and that’s why it is a little bit heavier than the TS100 (that is made of plastic and weighs approximately 30g, but you won’t be able to notice the difference).
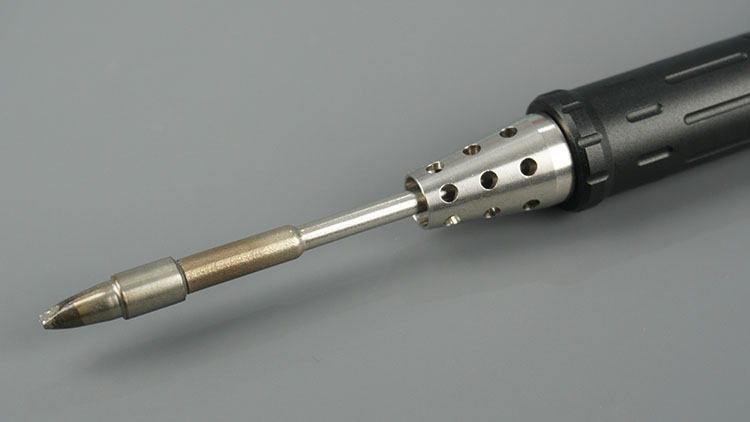
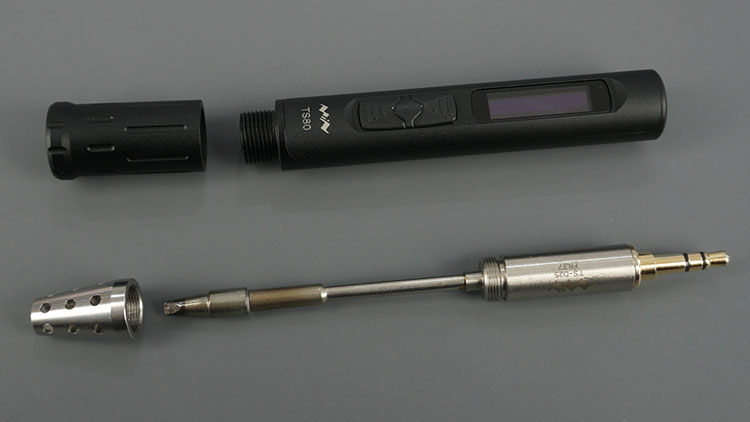
It comes with a small chisel type tip.
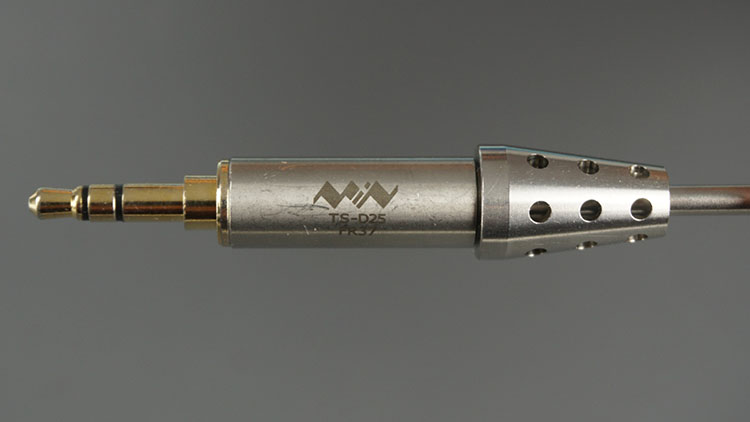
The tips are easily interchangeable via the headphone jack. Although you are not always changing a tip, it’s nice to know that you can do it in seconds. The types of tips available are chisel, knife, and conical tips.
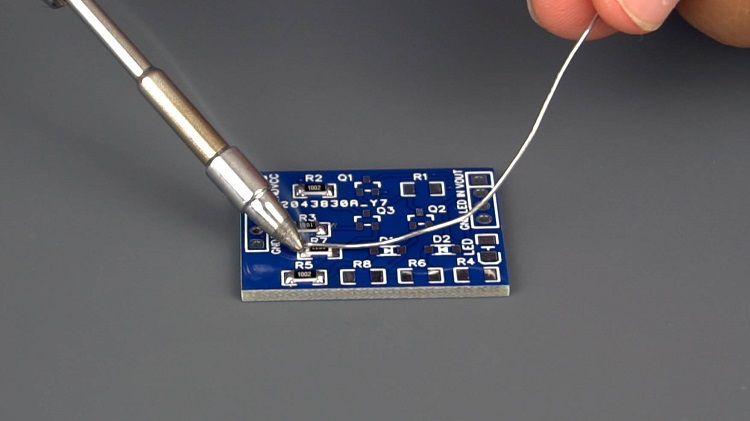
I have no complaints about the tip that comes with the soldering iron. I can easily solder small SMD components. Because these tips are so small, they are perfect for small precision work with small components and PCBs.
The TS80P has a good ergonomic grip (that is removable). The soldering iron feels good in your hand, but because the grip is much smaller when compared with regular soldering irons, it’s easy to burn your fingers if you’re not cautious.
Temperature Control
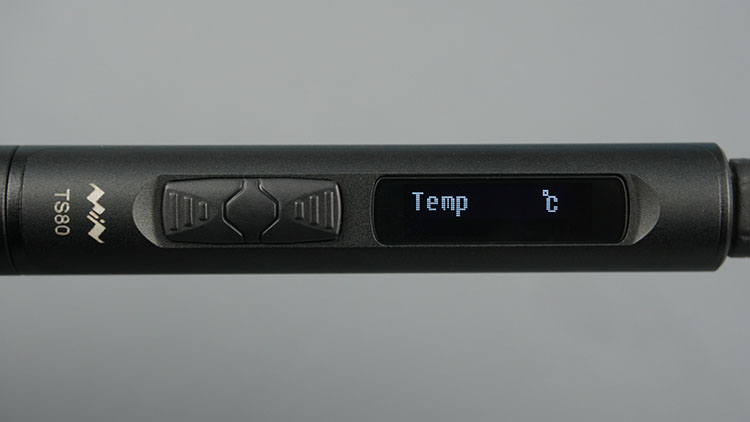
This is a digital temperature-controlled soldering iron. You can adjust the working temperature by going to the temperature menu. The default working temperature is 300ºC, and the standby temperature is 200ºC. You can configure all these settings.
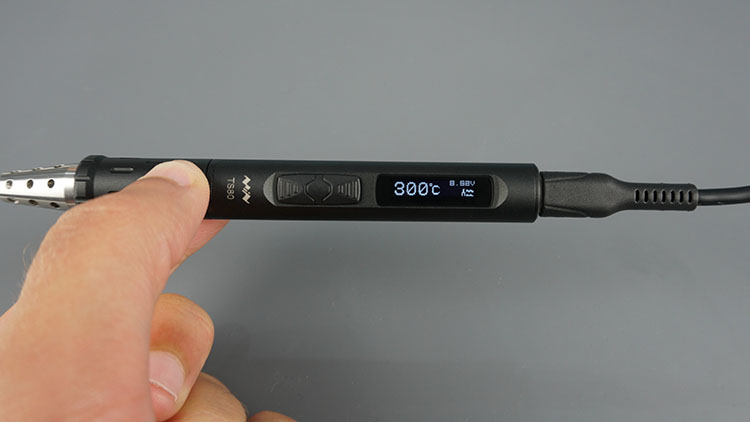
The soldering iron heats up incredibly fast. Starting at room temperature, it takes about 22 seconds to reach 300ºC and start soldering. If you prefer to see the temperature in Fahrenheit degrees, you can easily change that through the menus.
Sleep Mode
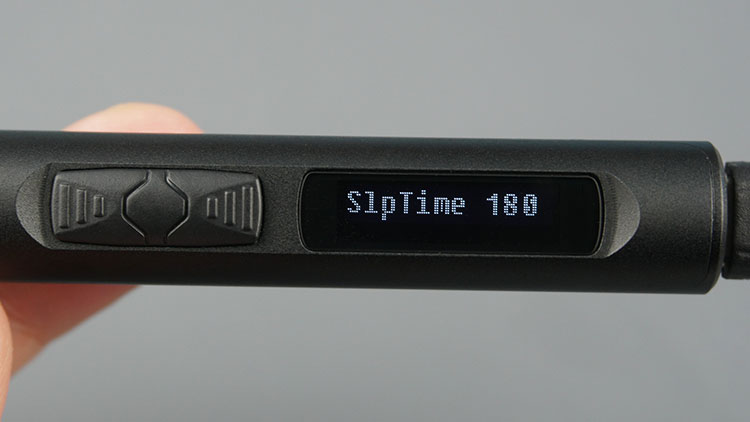
Like the TS100 soldering iron, the TS80P comes with nice features like sleep mode. When the iron is powered on, if you don’t use it for more than 180, it will adjust the temperature to the standby temperature (200ºC by default). All of this is configurable, both the time to enter deep sleep and the standby temperature.
Recommended reading: Top 10 Soldering Accessories and Tools
TS80P Specifications
Here’s a summary of the TS80P soldering iron specs:
| Temperature Range | 100ºC to 400ºC(max.) |
| Power Input | 3.6V – 6.5V (2A) or 6.5V – 9V (2A) or 9V – 12V (1.5A) QC3.0 (Quick charge 3.0) |
| Data/power Interface | USB Type-C |
| Temperature Stability | +/- 3% |
| Display | OLED |
| Weight | 36.5g (1.3oz) |
Operating the TS80P Soldering Iron
The TS80P features an OLED display and two buttons to navigate through the menus and settings. Controlling the soldering iron through this menu can be a little bit tricky and frustrating at first, while you’re not used to it.
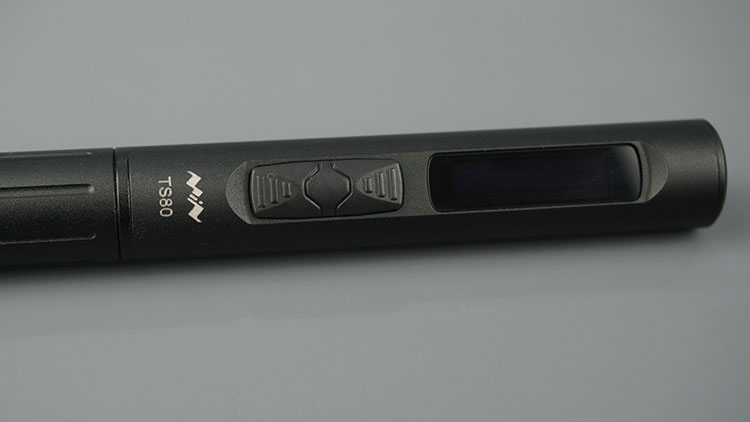
Before starting operating the soldering iron, I recommend searching for “TS80P manual” and read the operating instructions to get you more familiar with the menus and settings.
After having the desired configurations and settings, operating the soldering iron is very easy. Apply power and press the A button (leftmost button) so the soldering iron starts heating up.
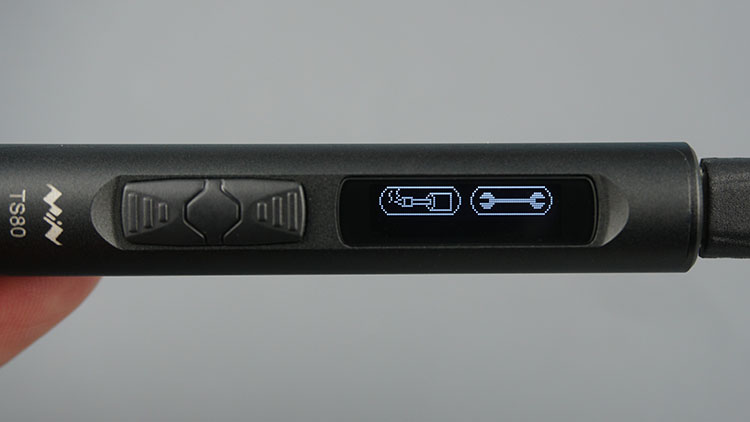
If you’re left-handed, you can configure the soldering iron, so that you don’t see the menus upside down.
Configuring the TS80P Settings
You can easily configure the TS80P soldering iron settings by connecting it to your computer through a USB Type-C cable. Open the config.txt file and change the parameters to meet your requirements.
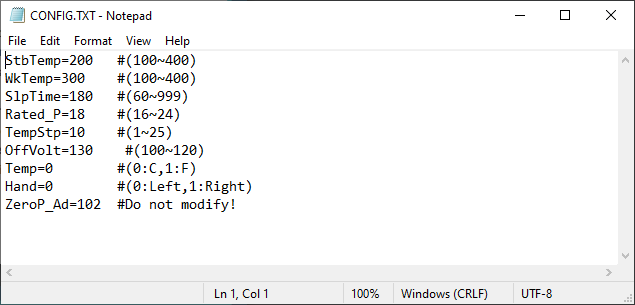
The TS80P software is open source, and you can upload other firmware versions to your soldering iron. If you search for “TS80P firmware update”, you should find the latest firmware version. Search for the TS80P soldering iron manual to see how to upload new firmware.
TS80P vs TS100
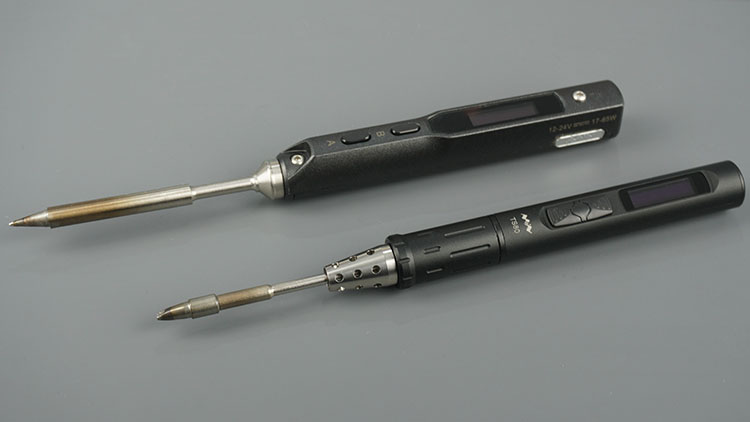
The TS80P is the TS80/TS100 successor, but please note that the TS100 has also been discontinued. The following table compares some of the features and specs of the TS80P and TS100 soldering irons.
| TS80P | TS100 (discontinued) | |
| Temperature Range | 100ºC to 400ºC (max.) | 100ºC to 400ºC (max.) |
| Input Power | 3.6V – 6.5V (2A) or 6.5V – 9V (2A) or 9V – 12V (1.5A) (quick charge 3.0) | 12V – 24V |
| Power Interface | USB port type C with QC 3.0 | 12-24V via 5.5mm barrel connector |
| Display | OLED | OLED |
| Weight | 36.5g | 30g |
| Material | Aluminium | Plastic |
| Ergonomic grip | ✓ | x |
| Tip (default) | chisel | conical |
| Heat-up speed | 22 seconds | 11 to 40 seconds (depending on power source |
| Menus | not much intuitive | very intuitive |
| Open source firmware | ✓ | ✓ |
Wrapping Up
As I’ve mentioned previously, I’ve been using the TS80P soldering iron for a while, and I really like it. It is convenient for small soldering jobs, and it doesn’t occupy much space in my workbench.
Although I don’t have much experience soldering SMD components, I’ve found it easier with this soldering iron.
Should you get a “real” soldering iron? Nowadays, I’ve been using the TS80P more often. You can grab a TS80P portable soldering iron below.
I hope you’ve found my review about the TS80P soldering iron useful.
You may also like reading:
- Best Soldering Irons for Beginners
- Protect Your Workbench – Soldering Mats Review
- Top 10 Soldering Accessories and Tools
- Best Helping Hands for Soldering
Thanks for reading.
[Recommended Course] Learn ESP32 with Arduino IDE
Register in our brand new ESP32 course with Arduino IDE. This is our complete guide to program the ESP32 with Arduino IDE, including projects, tips, and tricks! The registrations are open, so sign up now.


 [eBook] Home Automation using ESP8266 »
 [Course] Build a Home Automation System »
 [Course] Arduino Step-by-Step Projects »
Leave a Reply